The Shopify suite that top stores trust.
Boost sales, improve product discovery, and create better shopping experiences with Globo – a suite of 6 powerful Shopify apps, rated 5.0 by over 10,000 real reviews from 200,000+ merchants.
![]()
Trusted by global brands
Discover the complete suite of GLOBO apps
We develop apps in the hope of your business development. Help you increase sales and easily administrate your stores. Your success is our pride.
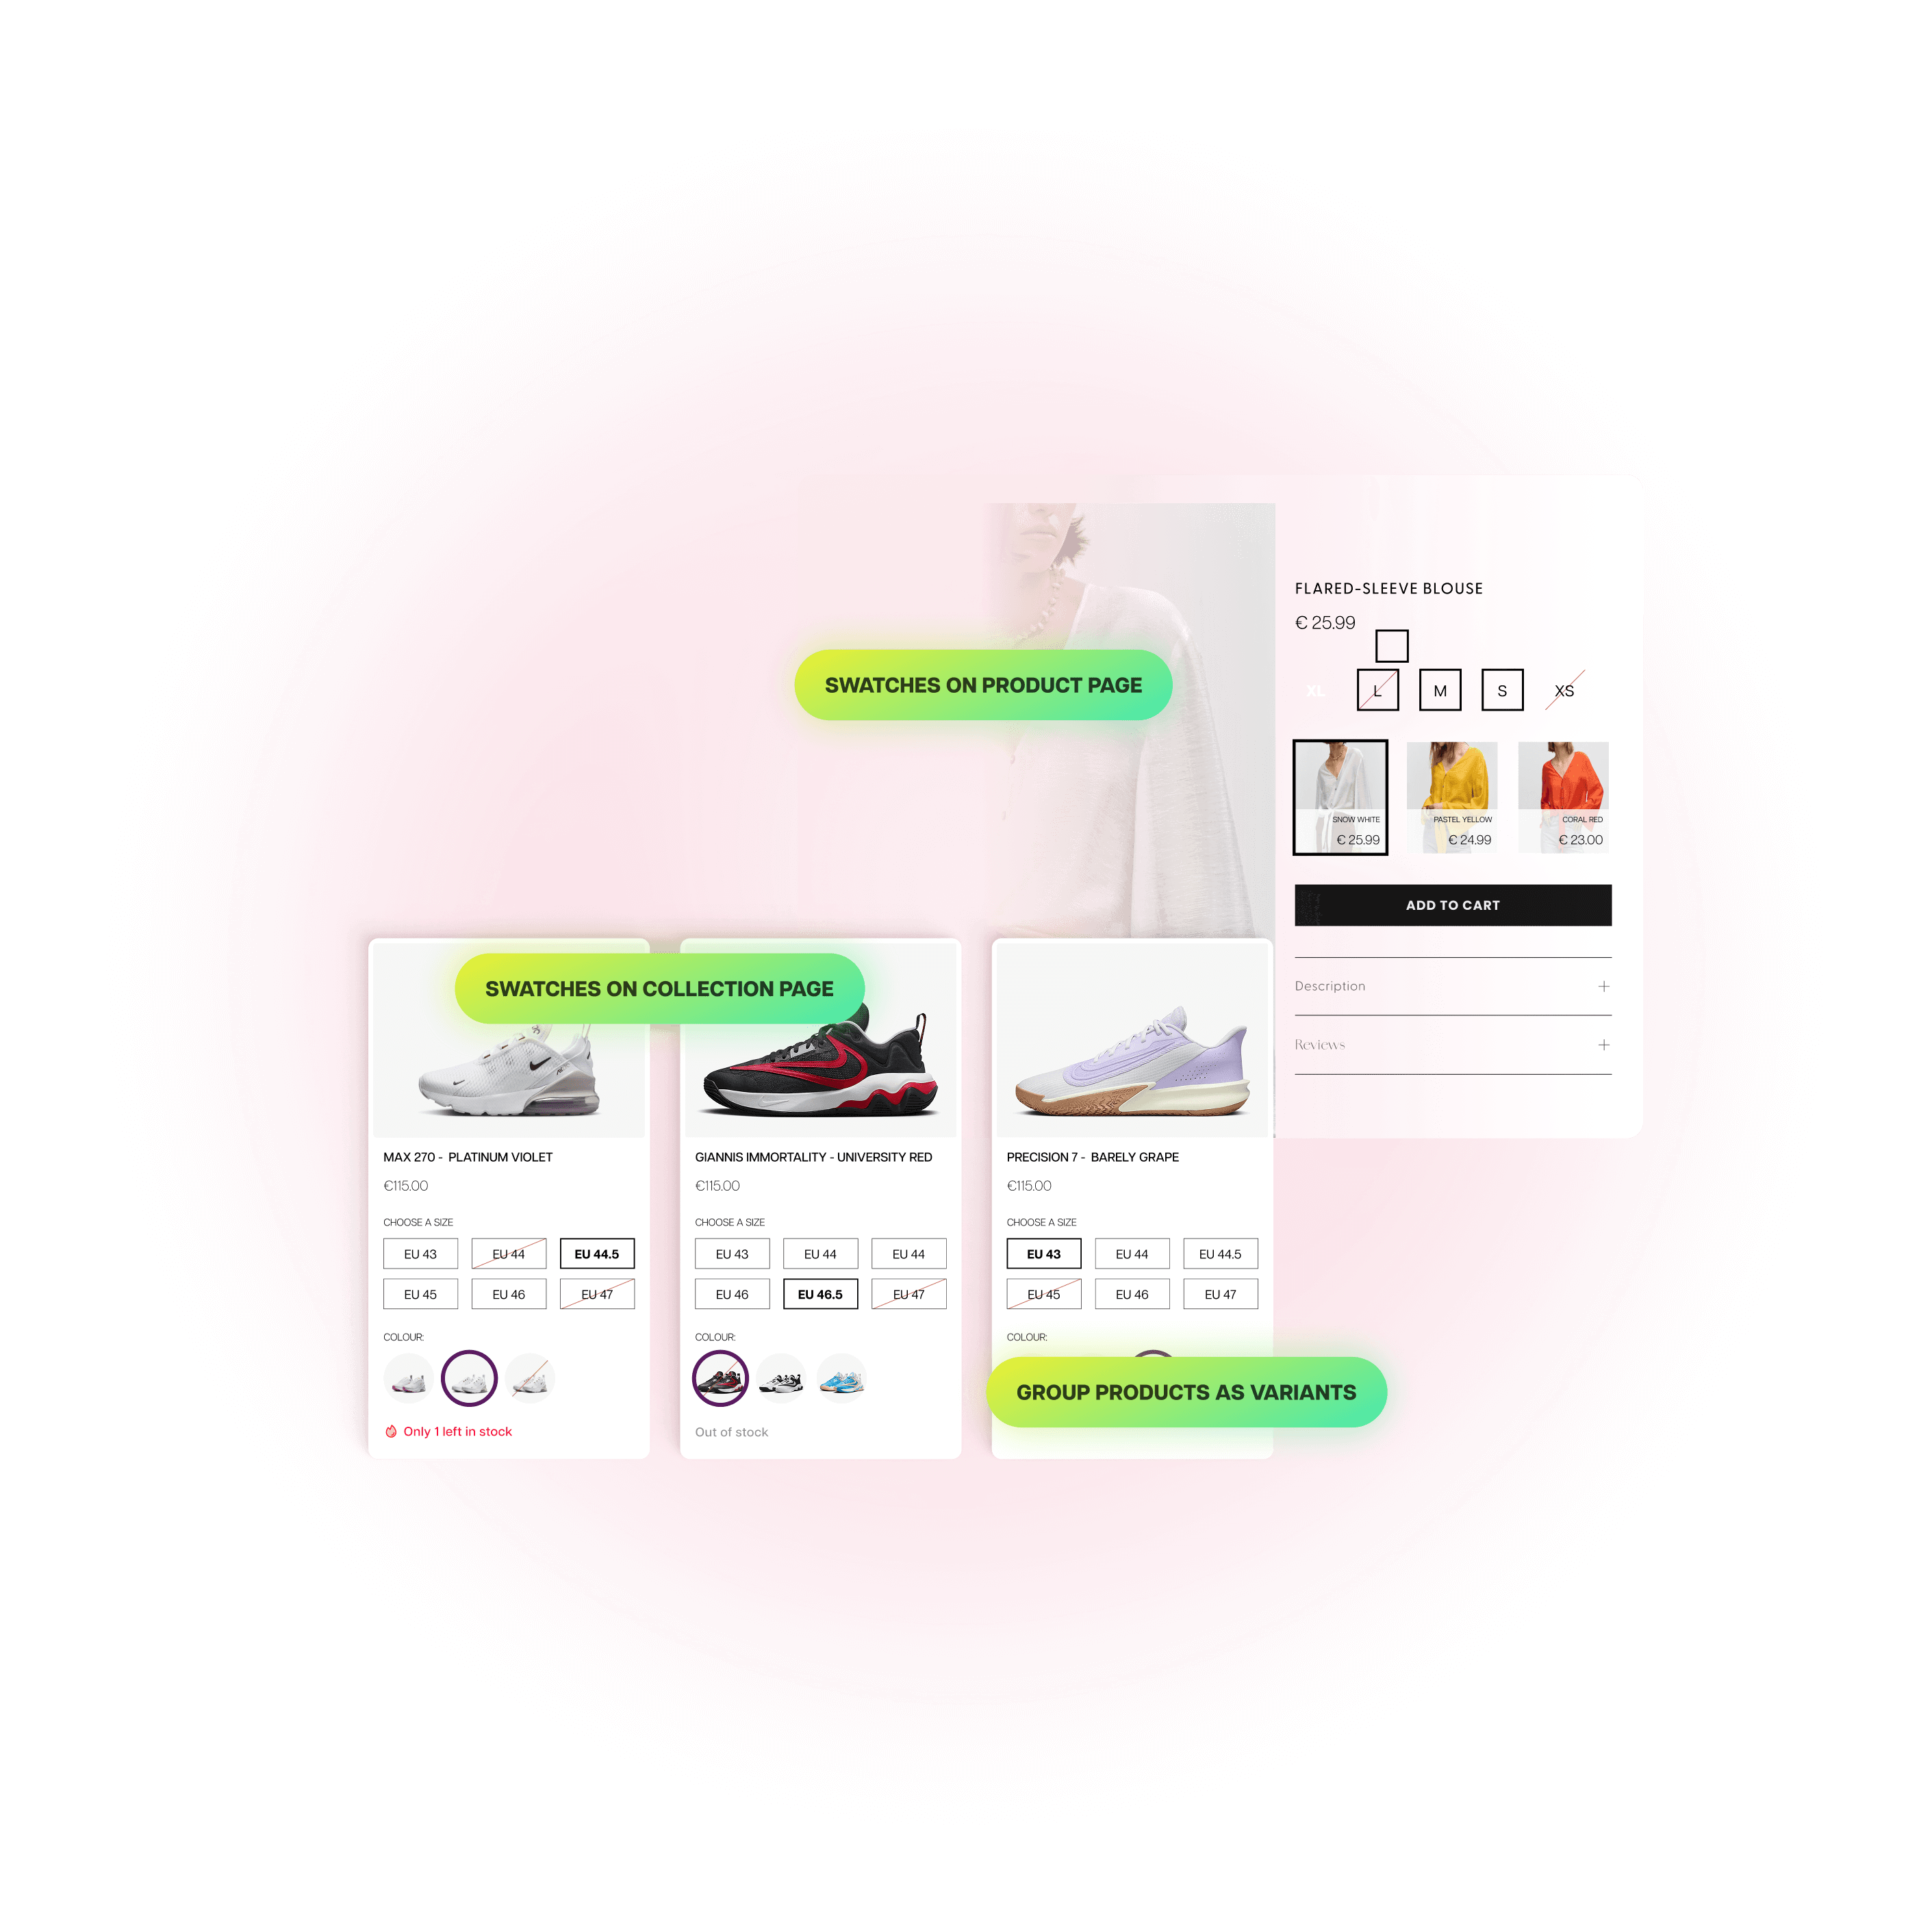
GLO Color Swatch Variant Image
Visual variant selectors and bundle offers that convert.
4.9 (1,600+ reviews)
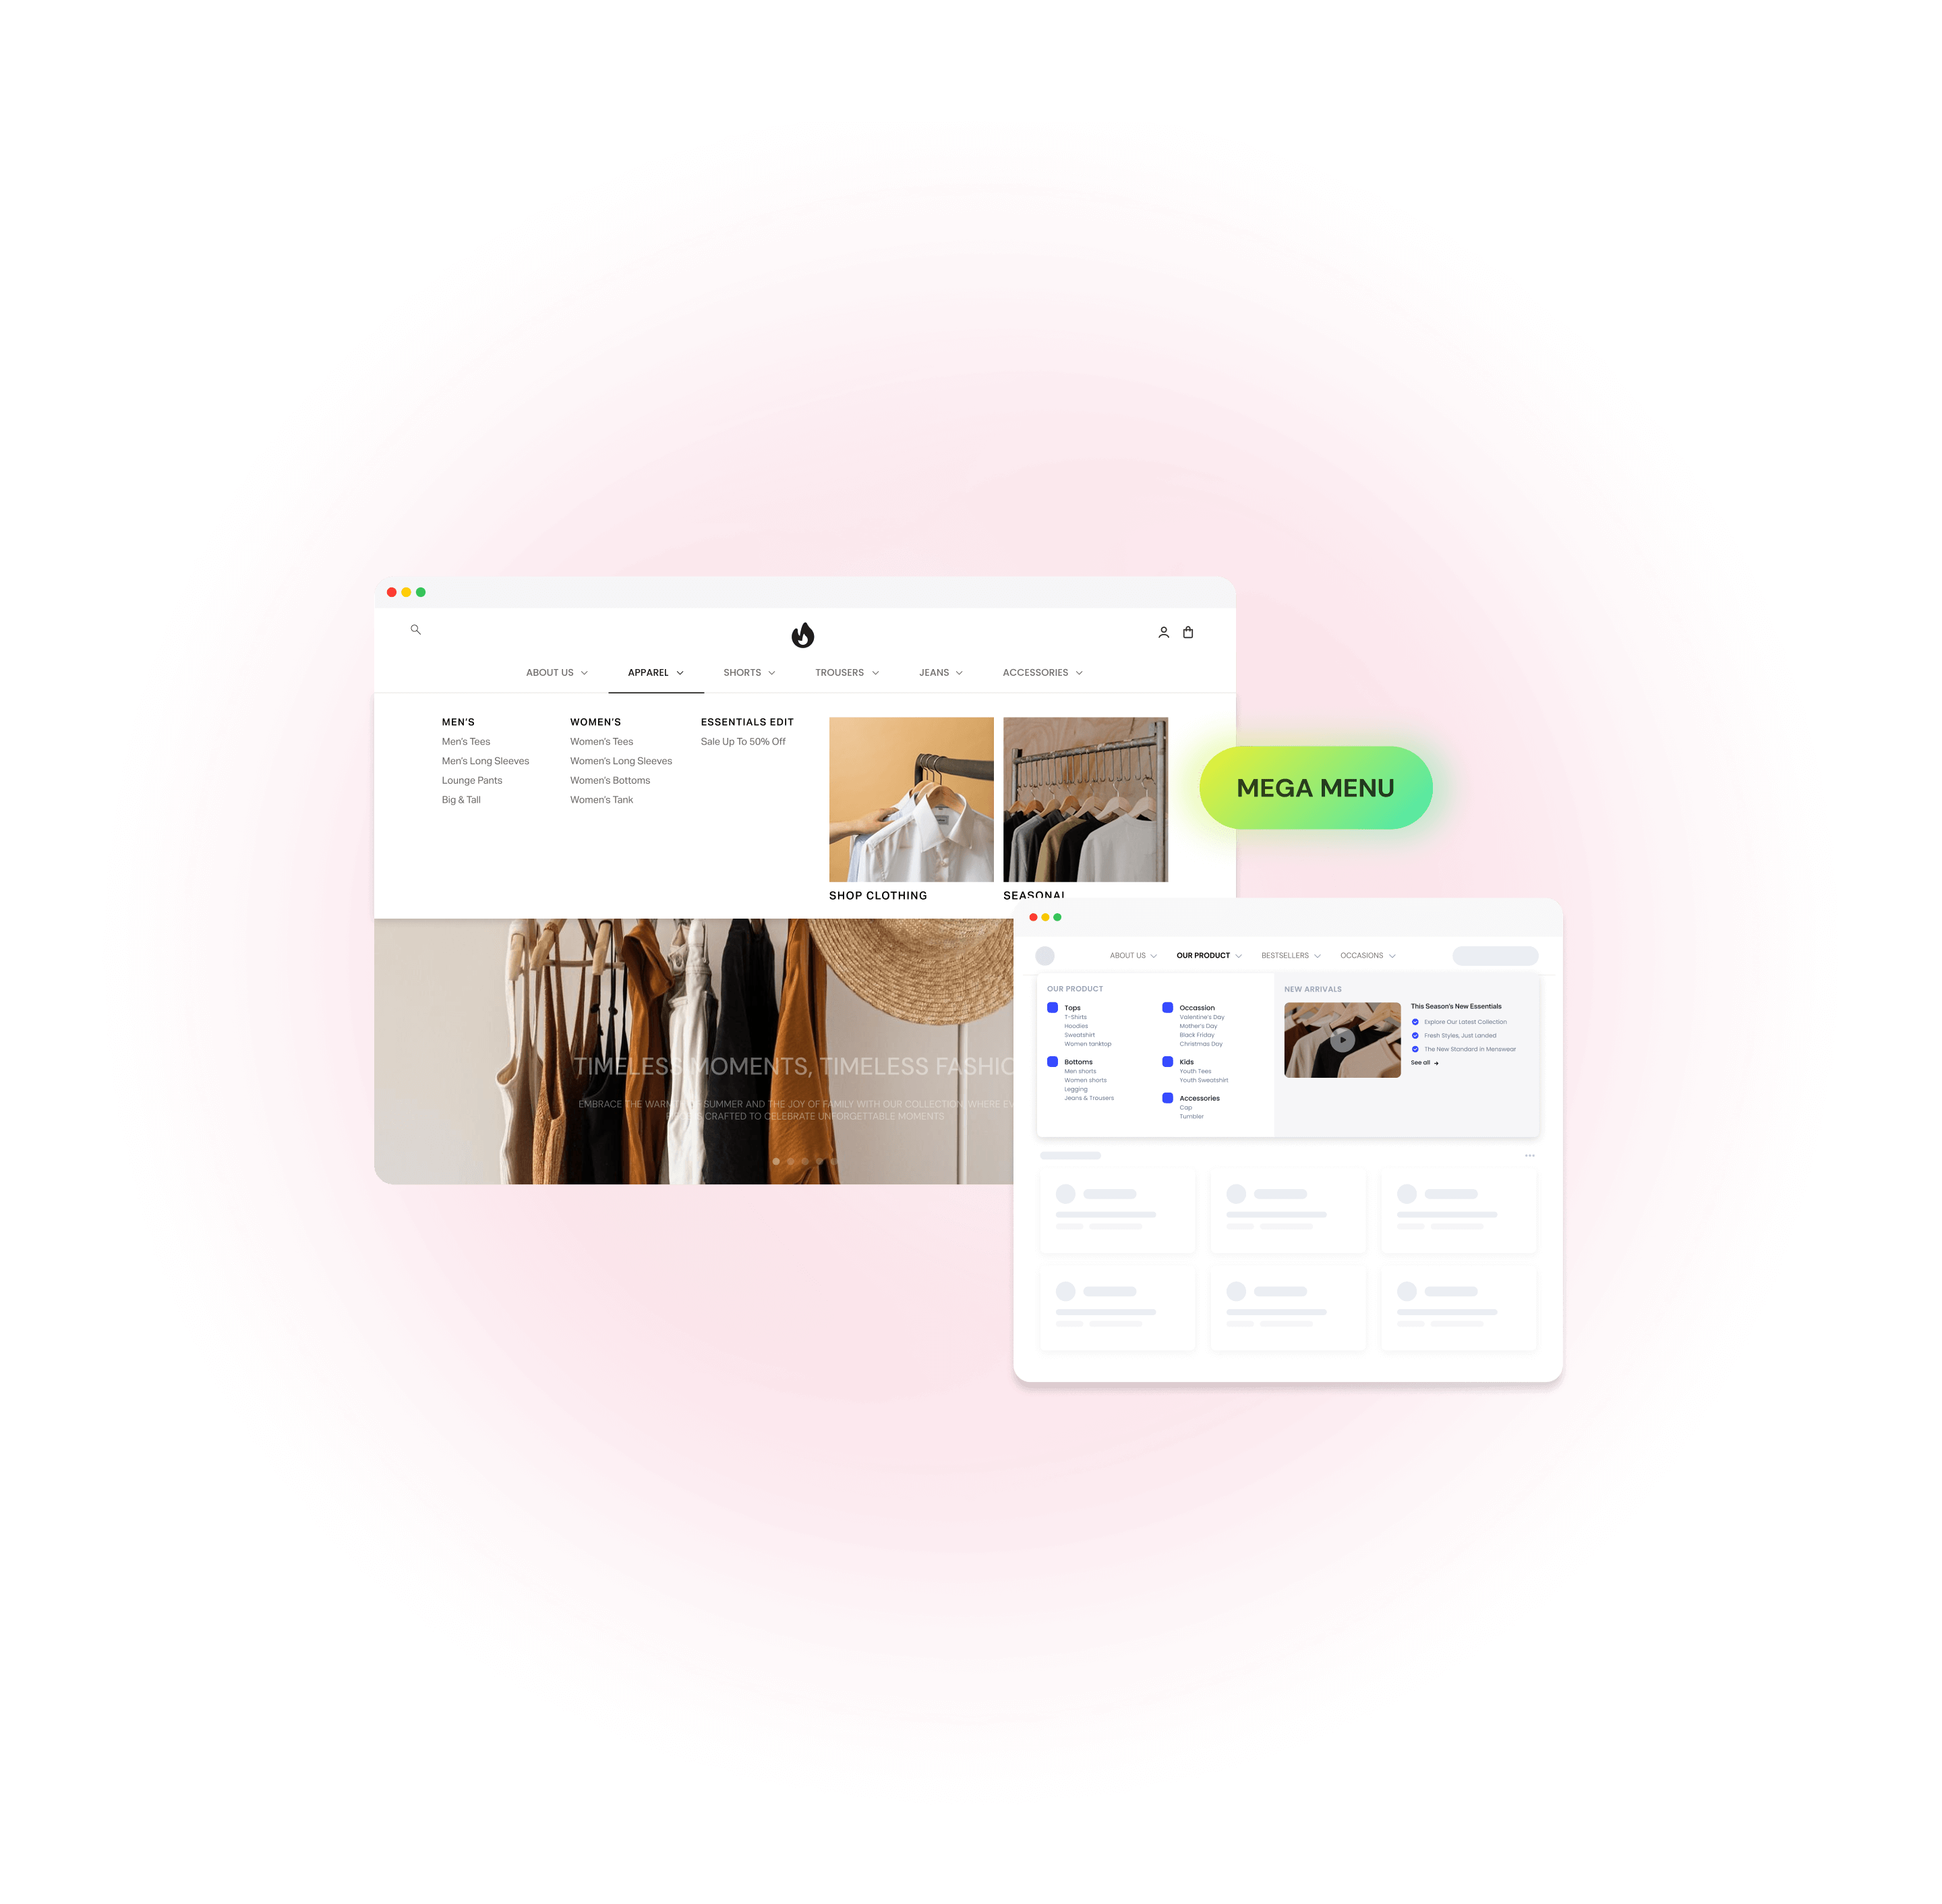
Globo Mega Menu, Navigation
Create intuitive, multi-level mega menus with ease.
4.9 (1400+ reviews)
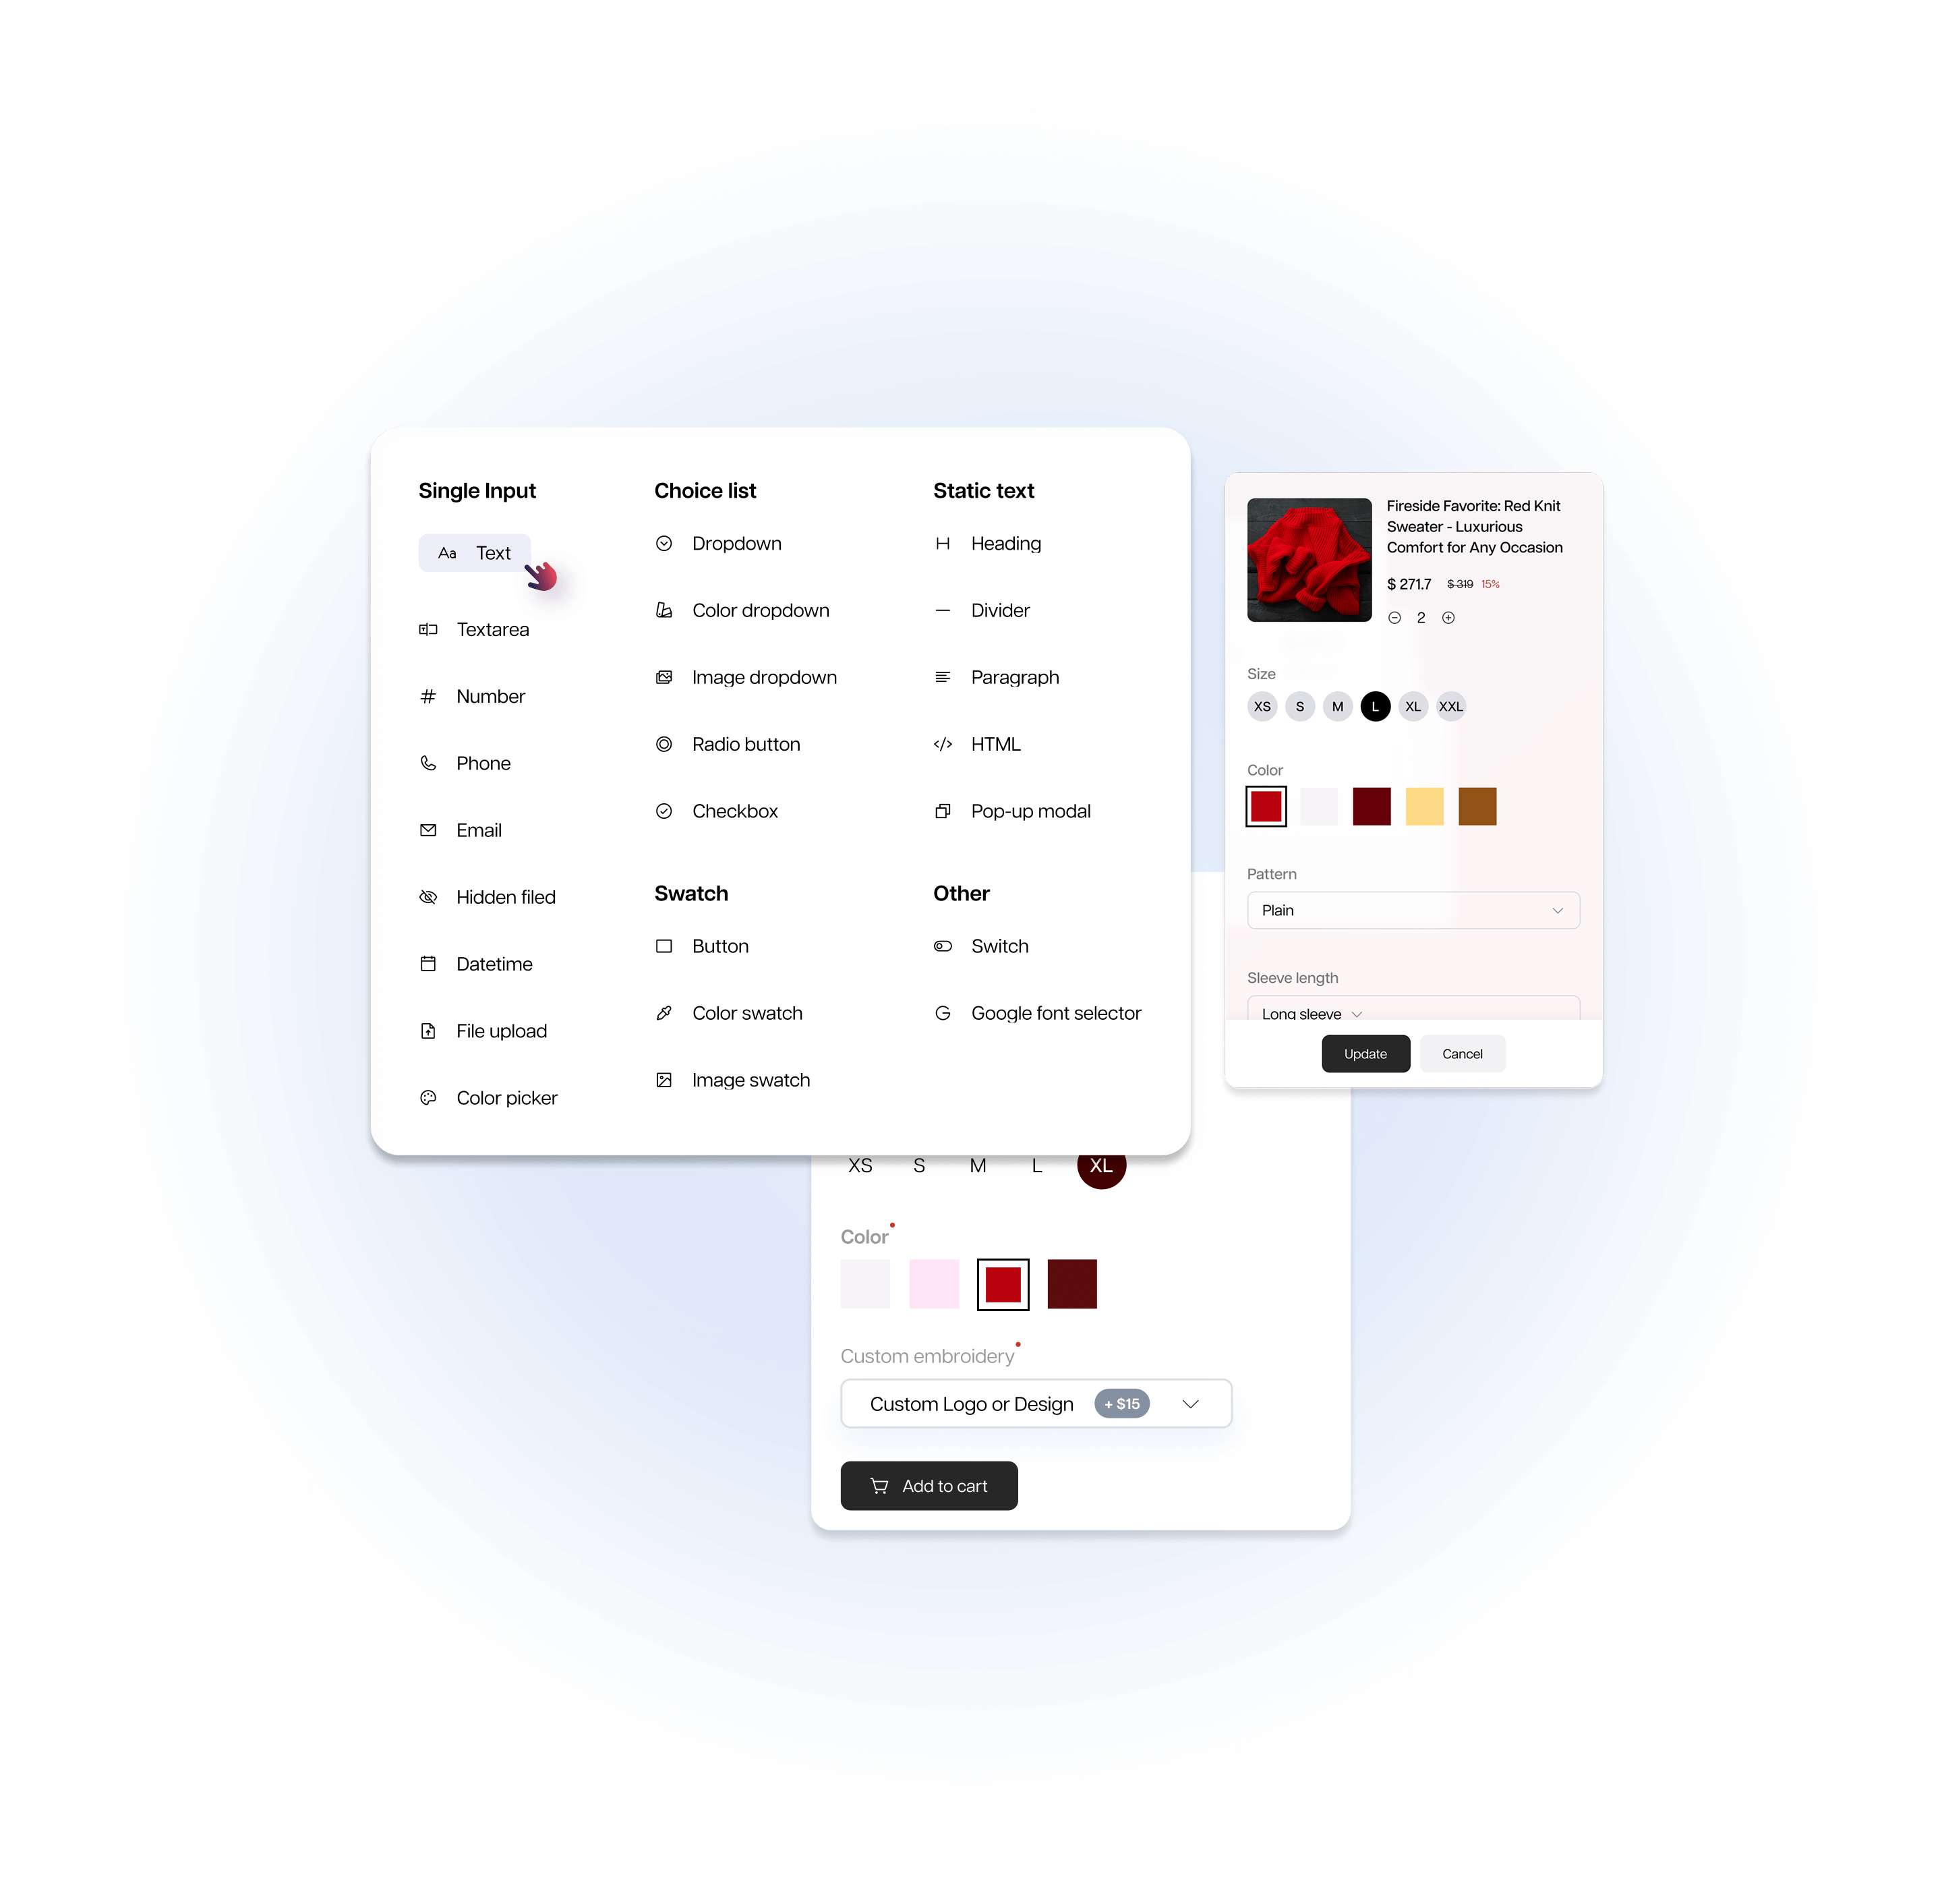
Globo Product Options, Variant
Flexible product customization, unlimited variant options.
4.9 (4,600+ reviews)
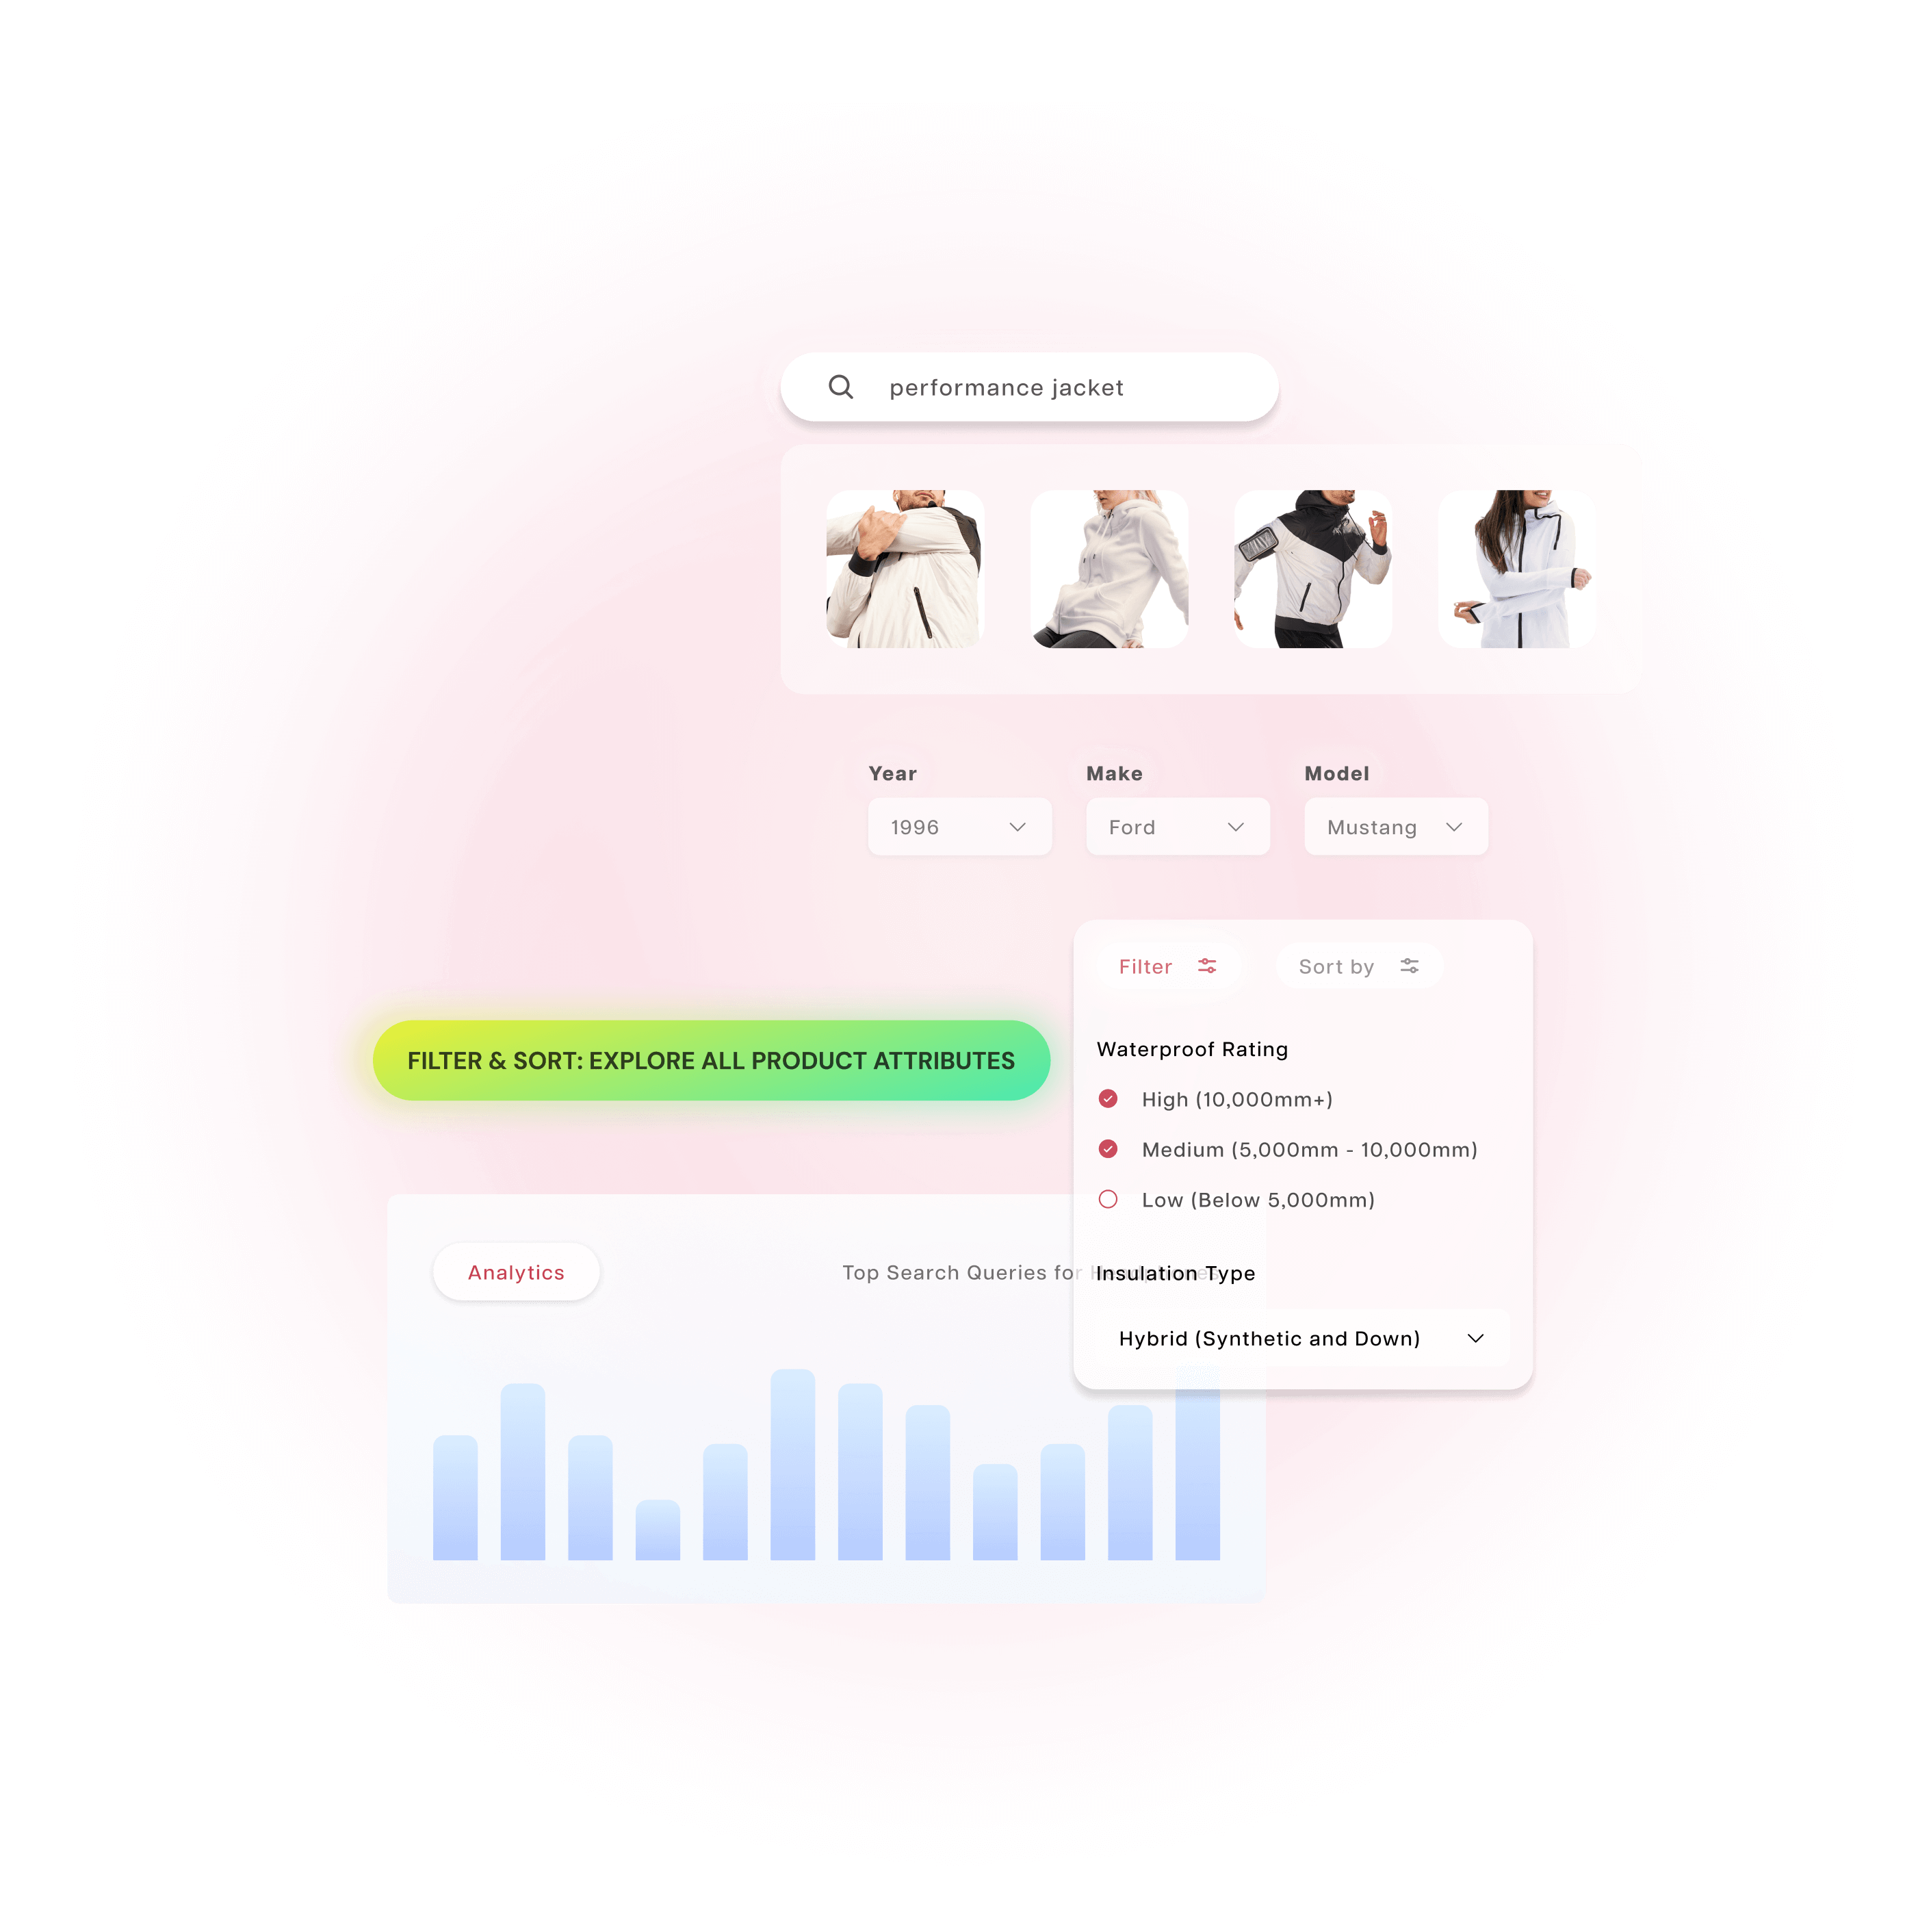
Smart Product Filter & Search
Help customers find what they want faster.
4.9 (2,100+ reviews)
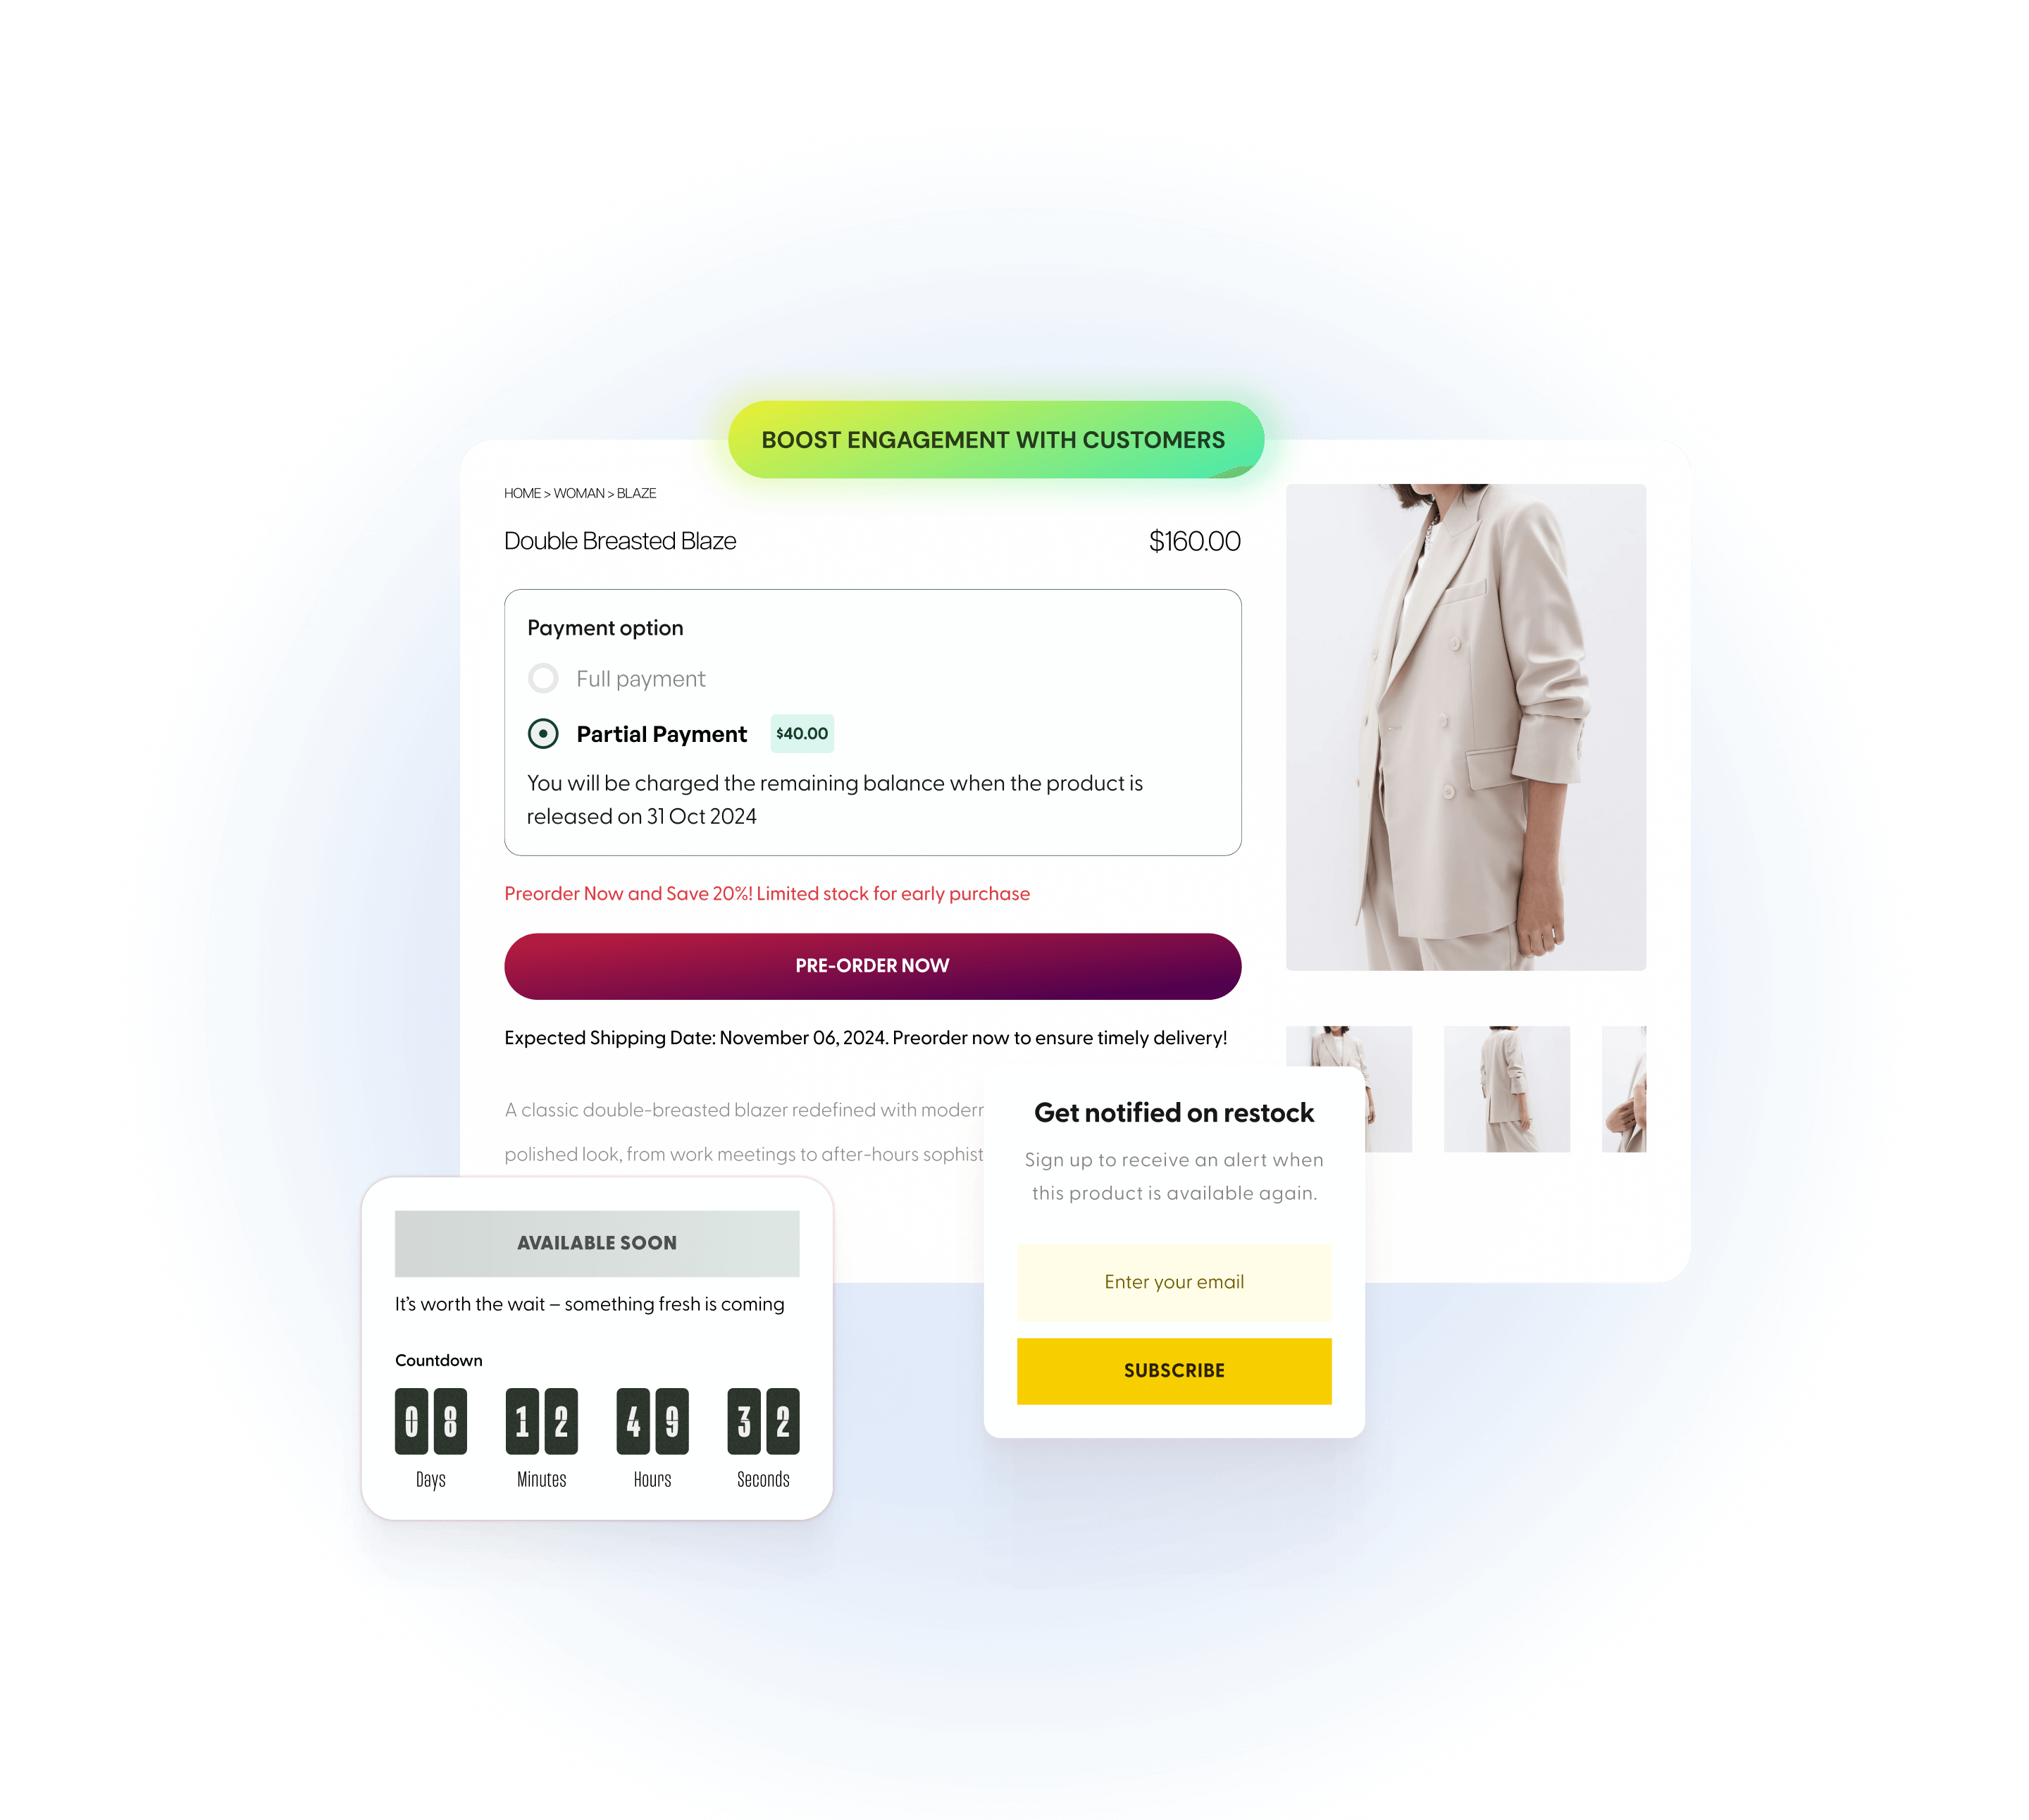
PreOrder Globo | Back in Stock
Capture lost sales with pre-order & restock alerts.
4.9 (1,700+ reviews)
Trusted by Thousands of Merchants
Built for Results
Everything we build is designed to help your Shopify store grow faster and sell more – right out of the box.
Increase Product Visibility
Help shoppers find what they need with smart filters, search, and mega menus.
Enhance Product Customization
Offer personalized product options and variant flexibility that convert.
Boost Your Sale
Drive revenue with upsells, bundles, pre-orders, and restock
Fast, Friendly Support
Our support team is always ready to help – no bots, just real
Hear from Our Successful Partners
Discover businesses like yours boost sales and expand their reach with streamlined affiliate management and impactful results.
This app has been great for all sorts of filters I need for Shopify, including colors, sizes, materials, etc. I’ve used it for a few years, and it’s been simple to use. In the rare case that I encounter a bug, support has been LIGHTNING FAST in fixing it. I’m leaving a review today after Helen helped me fix a bug within minutes of emailing. (I really appreciate it!!) They definitely won me as a customer. Great app, great customer service!
The app is very useful and intuitive to operate. It fills the customization gaps that many templates sometimes just cannot offer. Customer support is just outstanding: in our case, Helen provided a super quick and efficient solution to the issues we encountered.
Have been using this app for years and ran into my first issue just recently. I hit up support and they responded almost immediately, within 20minutes my issue was resolved and I couldn’t be happier. Great app, great support, worth 5 stars!
5 Star PLUS!
We built our whole website around this apps features and have LOVED how it performs for us and our customers. It looks great across all platforms and works perfect on mobile. It is easy to use and organize all of our products and product lines. The search feature is fun and interactive.
Amazing Support & Customization Help!
I just want to give a huge shoutout to the Globo Swatch devs and support team. They were incredibly responsive, friendly, and helpful throughout the entire process of customizing their app to fit exactly how I wanted it to look and function on my website.
I had some specific layout and design needs, and they went above and beyond to make sure everything looked perfect. The app now integrates seamlessly with my site’s aesthetic and works exactly as I envisioned. It’s rare to find this level of support and willingness to assist with custom tweaks—I’m genuinely impressed and grateful.
Highly recommended if you’re looking for a swatch app with both great functionality and an outstanding support team behind it!
Fantastic customer support, we have been using this app since we started with Shopify. Over the years we have had a couple of small issues. Both ended up being user error on our part. The Globo team jumped on these issues super fast (even after hours) and showed us what we were doing wrong. I highly recommend their products!
I looked at a lot of menu apps before settling on Globo. I found this the easiest to produce the results I needed. I started on the free menu but have now upgraded to make used of the tabbed menus. You need to work at it and it’s a bit trial and error, however the end results are worthwhile. You may also want to enter some custom CSS to get the best results. Support were always helpful, although their hours may not match up with your own as they’re in Vietnam!
Huge improvement to the standard menu in my Shopify theme! Took some getting used to on choosing the layouts I liked, but now that I’ve got it all done, there’s been great feedback from customers.
Amazing support and very intuitive app to use, I have been using it earlier and then tried other apps, but I always come back to Globo. And a BIG shoutout to Henry in the support team, who helped me customize everything to my liking, even during night time!
After trying several other expensive apps that promised more features, I returned to Globo as it is easy to set up and reliable, with just as many customizations. Extremely responsive and helpful support, Gemma solved my special request super quickly!
It offers every feature you could imagine and effortlessly connects to your store even letting you add paid options, handling everything smoothly. Plus, being able to customize fonts and styles to match your store’s theme made a big difference. Rosie is amazing!
Sooooo easy to use!!! I even used it at one point as a kickstarter and replaced ‘pre-order’ with pledge now! Henry, you have been a great help and sending over screenshots has been super easy to follow along! Thank you!
Very crisp app, does it what its supposed. Fantastic customisation, in fact kind of tailor made. The Chat with us is so good. Instant help and changes as per requirement. Keep it up.
Ready to grow your Shopify store?
Try Globo apps today — free to install, easy to set up.
Frequently asked questions
Everything you need to know about the product.
How to cancel my subscription?
The app subscription will be automatically canceled when you remove it from your Shopify app list.
Why was the invoice still created even though I removed the app?
In this case, the invoice is actually an upcoming charge that hasn’t been billed yet, due to Shopify’s 30-day billing cycle. This means the invoice was generated before you removed the app. If you come across a similar situation, please don’t hesitate to contact us for further clarification.
If I'm not satisfied, how can I get a refund?
Absolutely! If you’re not satisfied with the app, you can request a refund within 30 days of your purchase. Simply submit a ticket through the contact form inside the app or email us at contact@globosoftware.net.
I have a question about my invoice, what should I do?
For any refund requests, please email us at contact@globosoftware.net. We’re here to help with sincerity and care.