This article gives the list of compatible product review apps that works with our filter app – along with the guidelines to set up them.
1. Product Reviews
App URL: https://apps.shopify.com/product-reviews
Steps
- From your Shopify admin panel, go to the Theme folder.
- In the Action dropdown, click Edit code.
- Go to the globo.filter.product.liquid file.
- Add the following code to the first code line.
{% comment %}Do not edit this file{% endcomment %} - Add the below code snippet to the position you want the Ratings to appear.
<span class="shopify-product-reviews-badge" data-id="{{product.id}}"></span><br>
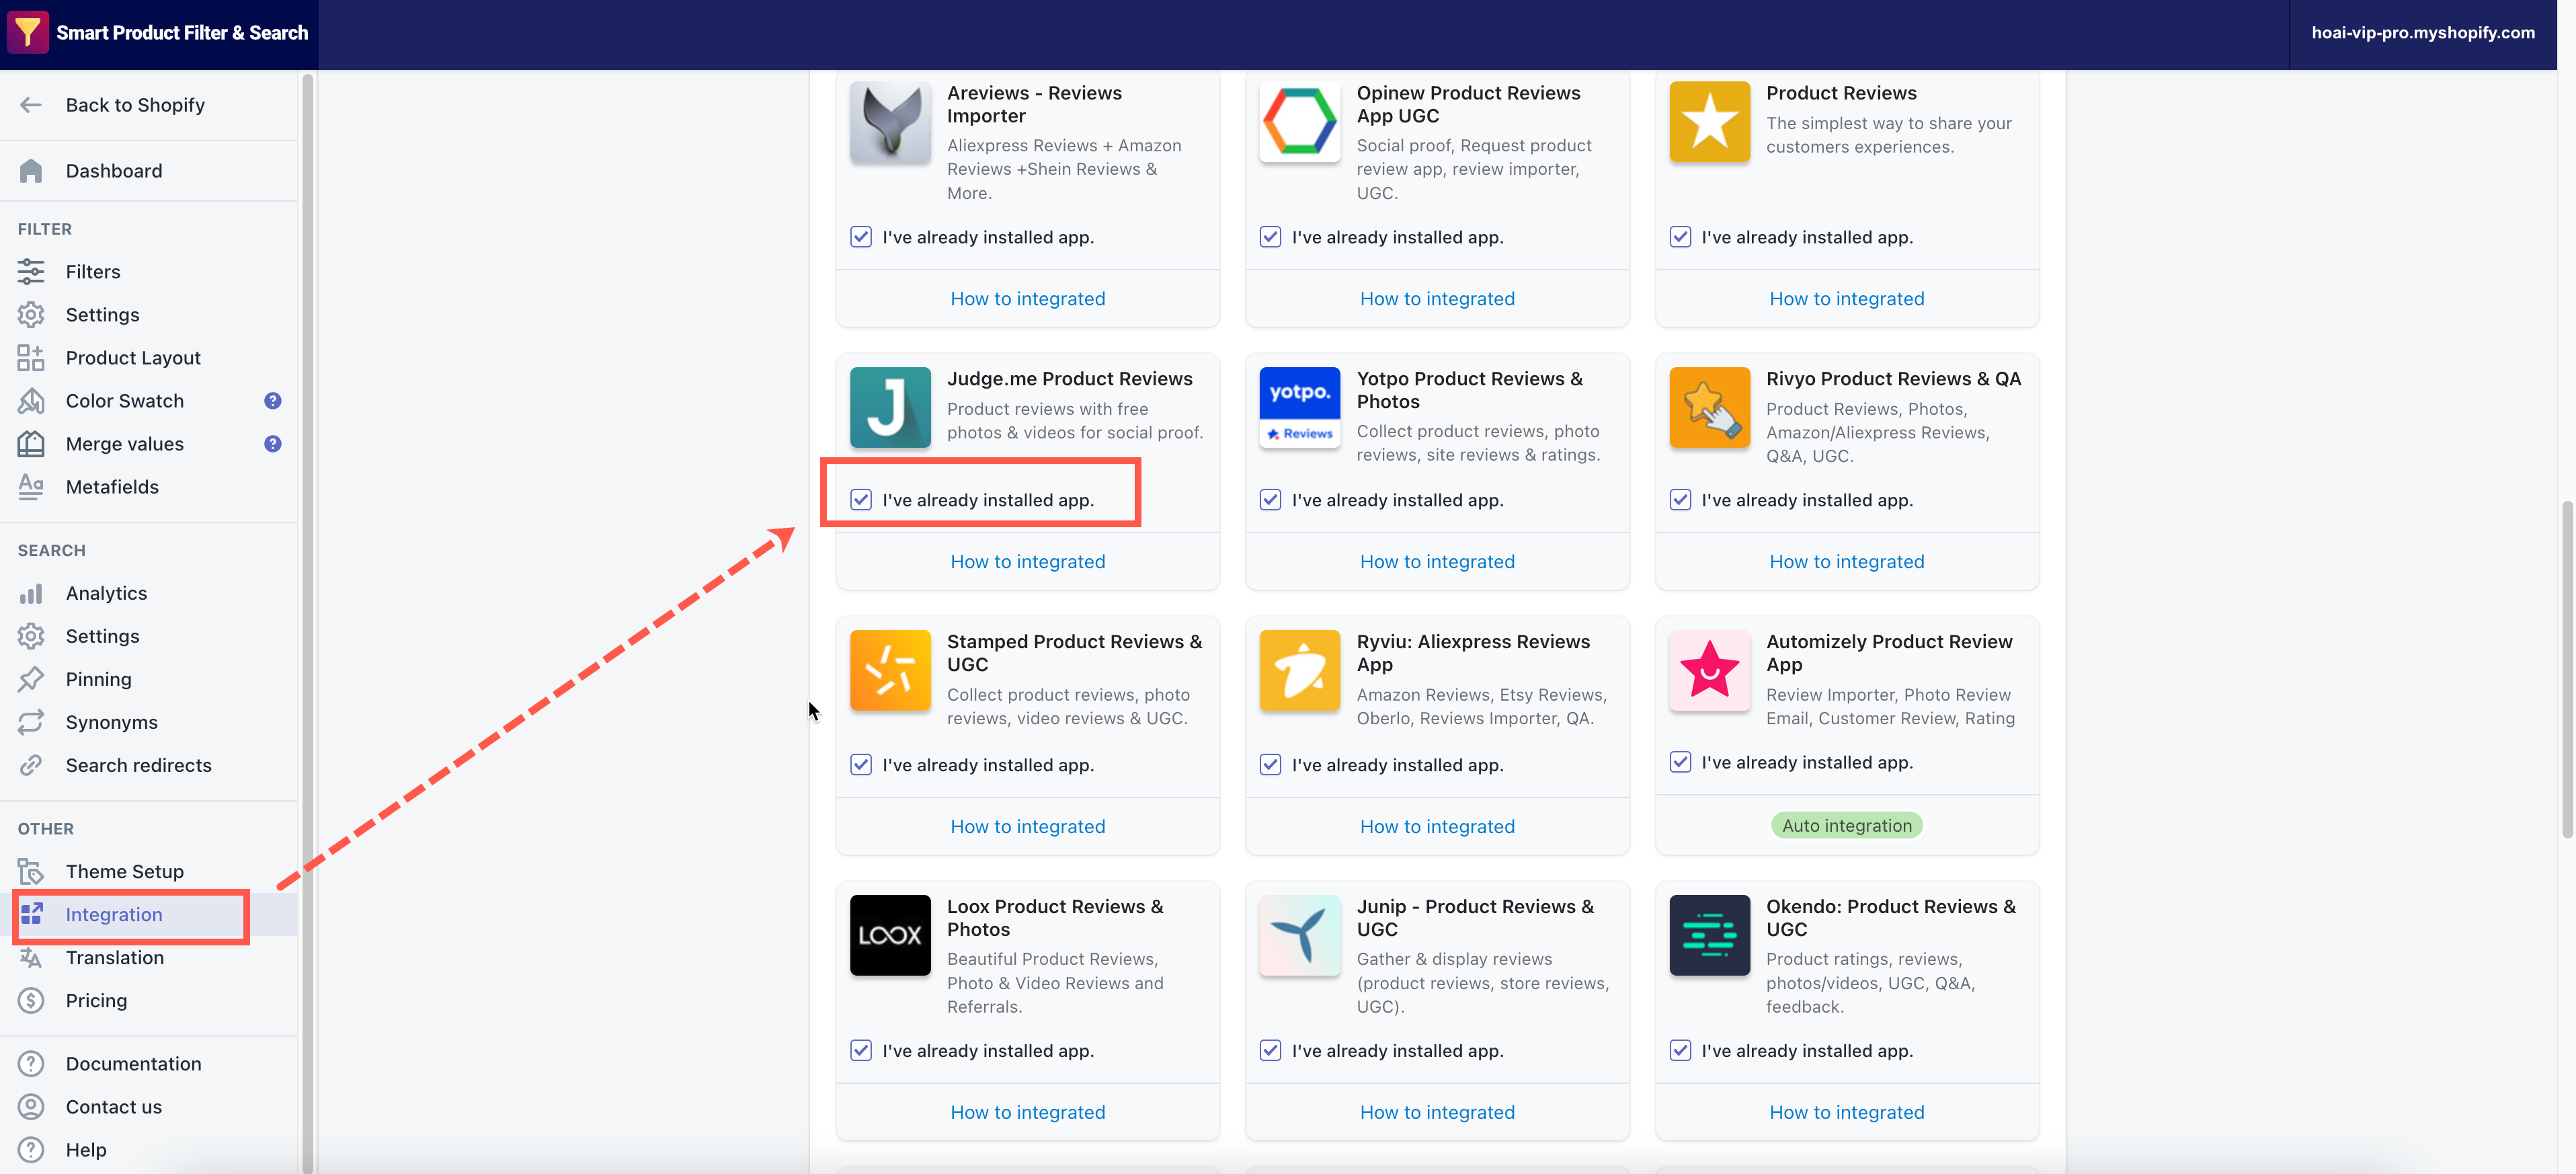
2. Judgeme
App URL: https://apps.shopify.com/judgeme
Steps
- From your Shopify admin panel, go to the Theme folder.
- In the Action dropdown, click Edit code.
- Go to the globo.filter.product.liquid file.
- Add the following code to the first code line.
{% comment %}Do not edit this file{% endcomment %} - Add the below code snippet to the position you want the Ratings to appear.
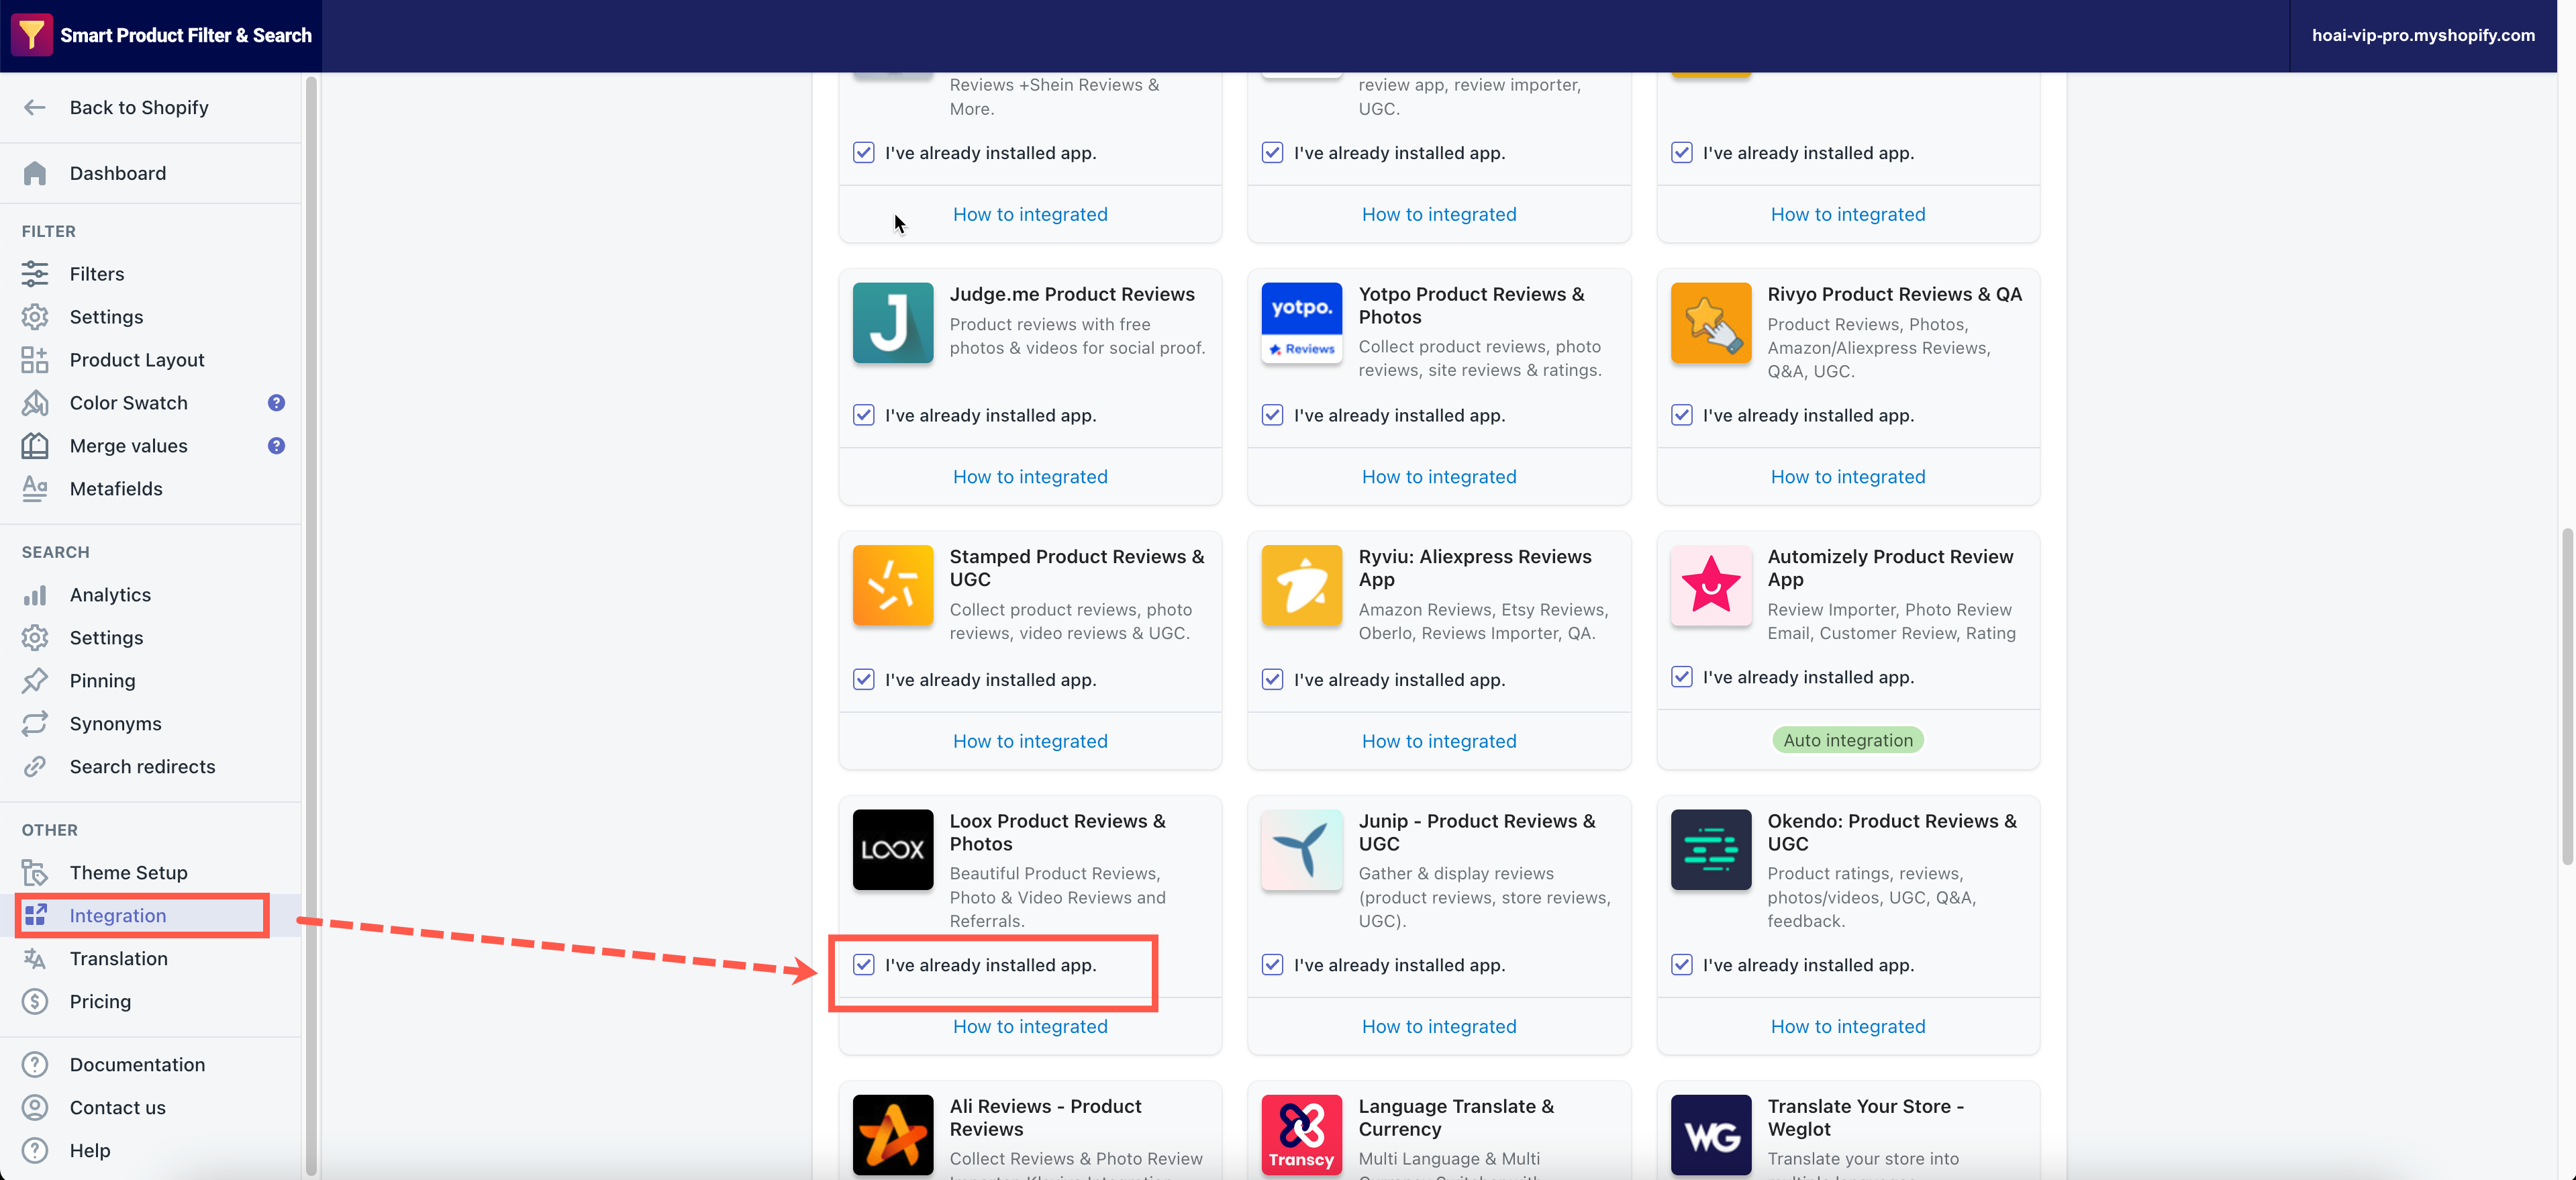
<div class='jdgm-widget jdgm-preview-badge' data-id='{{ product.id }}' data-template='manual-installation' data-auto-install='false'>{{product.metafields.judgeme.badge}}</div> - From the left app’s navigation bar, click on the Integration under the Other topic.
- Tick on the below option under Judgeme Reviews app.
- Click Save to finish.
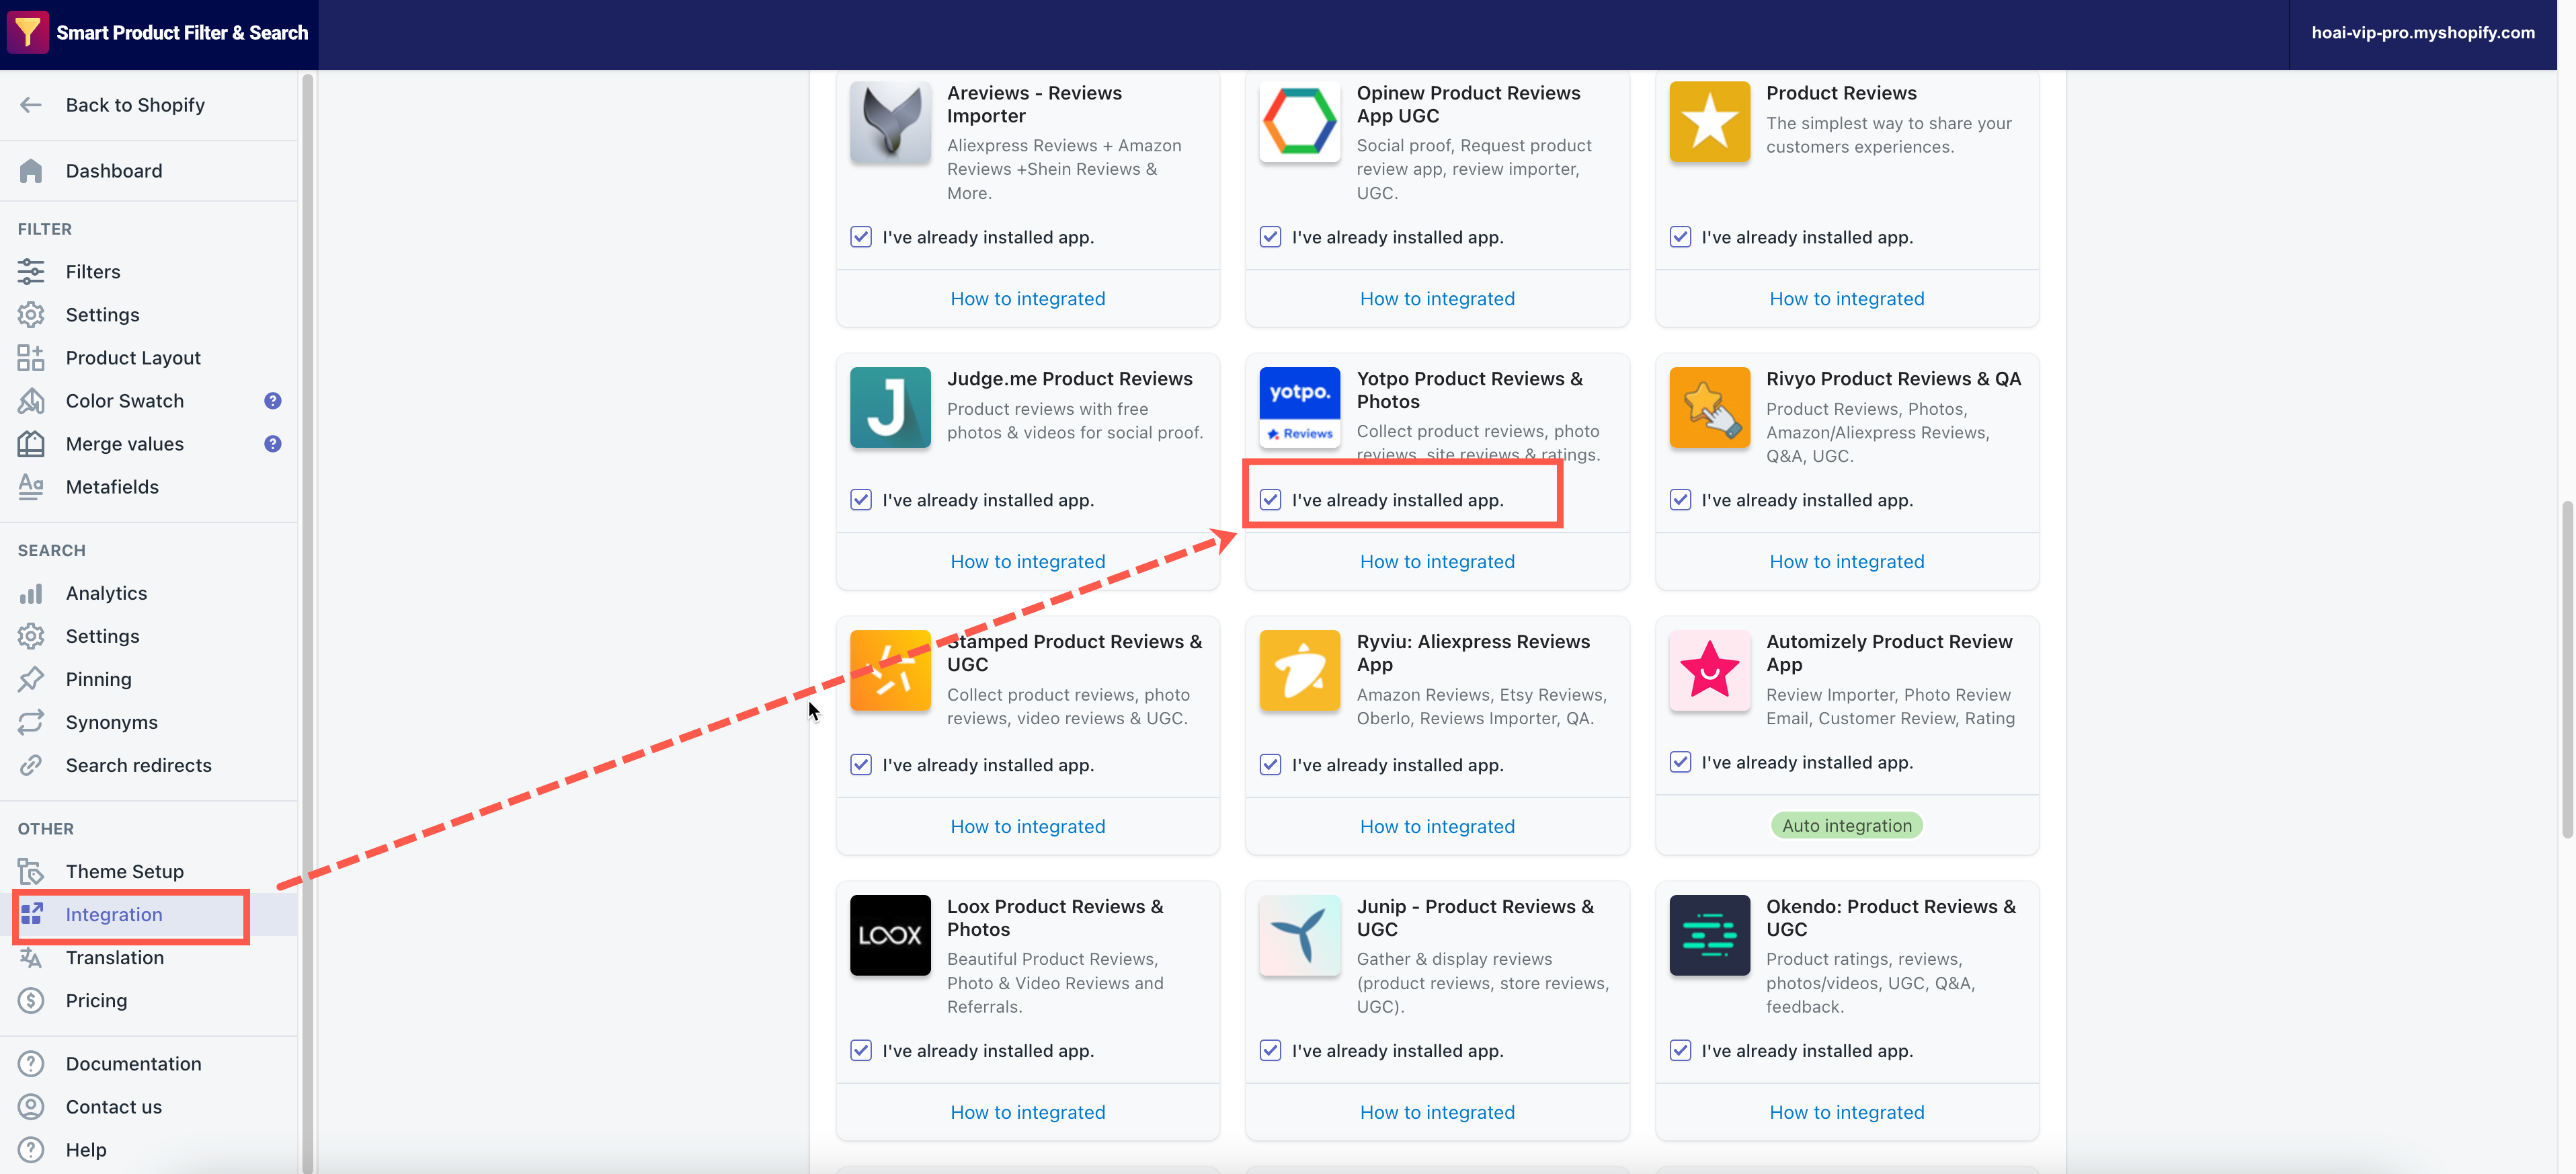
3. Yotpo
App URL: https://apps.shopify.com/yotpo-social-reviews
Steps
- From your Shopify admin panel, go to the Theme folder.
- In the Action dropdown, click Edit code.
- Go to the globo.filter.product.liquid file.
- Add the following code to the first code line.
{% comment %}Do not edit this file{% endcomment %} - Add the below code snippet to the position you want the Ratings to appear.
<div class="yotpo bottomLine" data-product-id="{{ product.id }}">{{product.metafields.yotpo.catalog_bottomline}}</div> - From the left app’s navigation bar, click on the Integration under the Other topic.
- Tick on the below option under Yotpo Reviews app.
- Click Save to finish.
4. Rivyo Product Review
App URL: https://apps.shopify.com/rivyo-product-review
Steps
- From your Shopify admin panel, go to the Theme folder.
- In the Action dropdown, click Edit code.
- Go to the globo.filter.product.liquid file.
- Add the following code to the first code line.
{% comment %}Do not edit this file{% endcomment %} - Add the below code snippet to the position you want the Ratings to appear.
<div class="wc_product_review_badge" data-handle="{{ product.handle }}" data-product_id="{{ product.id }}"></div>
5. Stamped.io
App URL: https://apps.shopify.com/product-reviews-addon
Steps
- From your Shopify admin panel, go to the Theme folder.
- In the Action dropdown, click Edit code.
- Go to the globo.filter.product.liquid file.
- Add the following code to the first code line.
{% comment %}Do not edit this file{% endcomment %} - Add the below code snippet to the position you want the Ratings to appear.
<span class="stamped-product-reviews-badge" data-id="{{ product.id}}"></span>
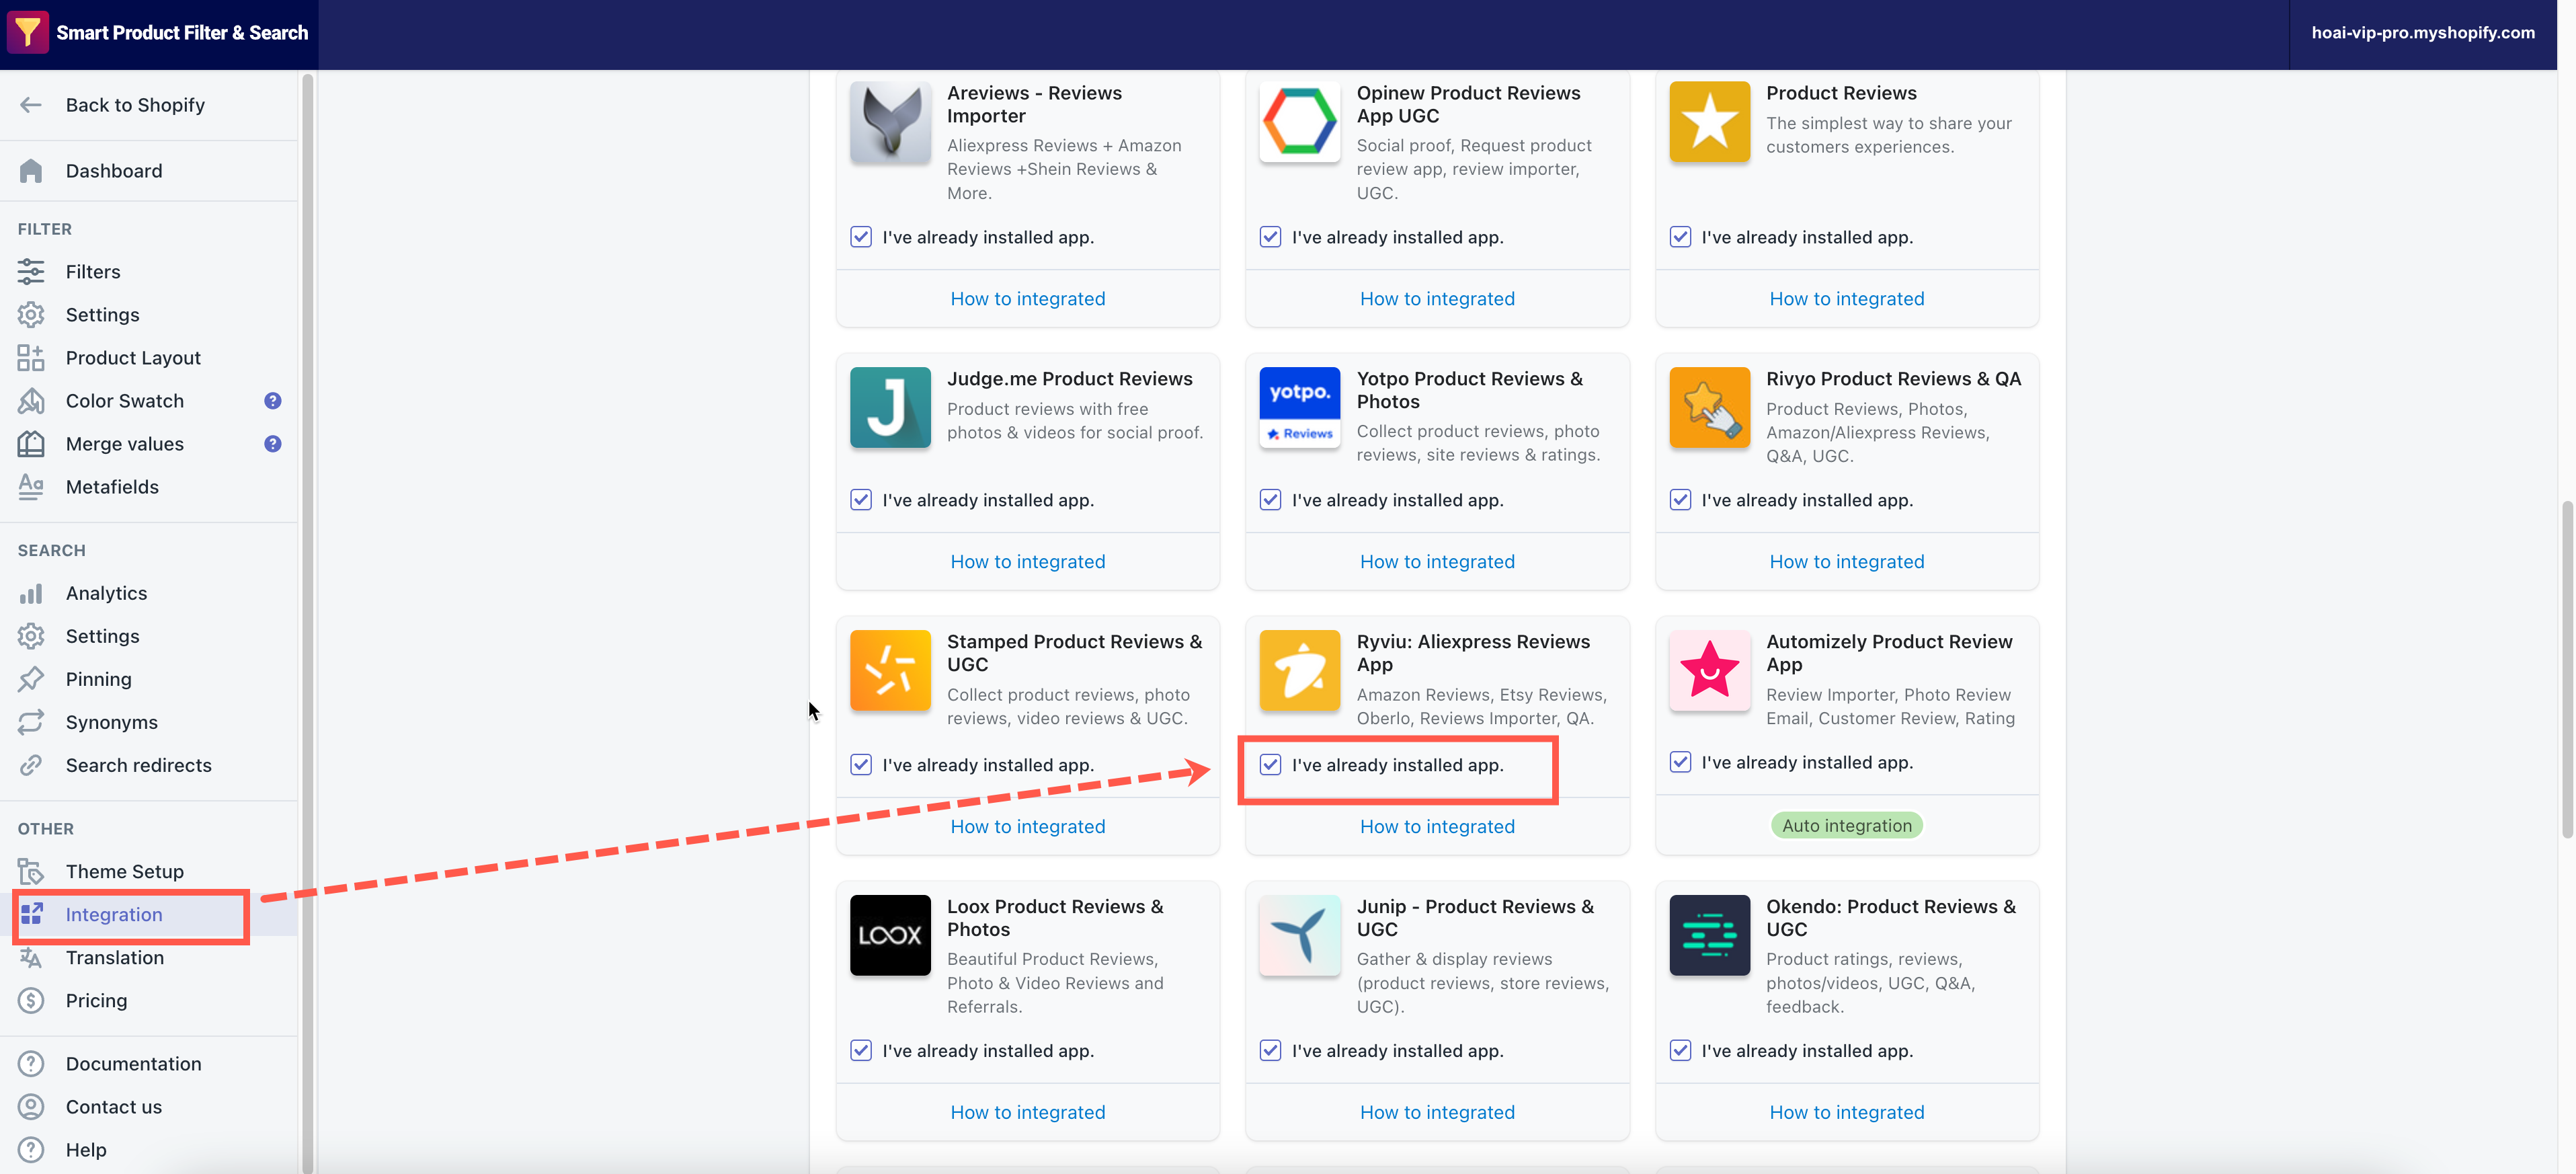
6. Ryviu
App link: https://www.ryviu.com/
Steps
- From your Shopify admin panel, go to the Theme folder.
- In the Action dropdown, click Edit code.
- Go to the globo.filter.product.liquid file.
- Add the following code to the first code line.
{% comment %}Do not edit this file{% endcomment %} - Add the below code snippet to the position you want the Ratings to appear.
<ryviu-widget-total reviews_data=" {{product.metafields.ryviu.product_reviews_info | escape}}" product_id="{{ product.id}}" handle="{{ product.handle}}"></ryviu-widget-total> - From the left app’s navigation bar, click on the Integration under the Other topic.
- Tick on the below option under Ryviu Reviews app.
- Click Save to finish.
7. Loox ‑ Photo Reviews
App URL: https://apps.shopify.com/loox
Steps
- From your Shopify admin panel, go to the Theme folder.
- In the Action dropdown, click Edit code.
- Go to the globo.filter.product.liquid file.
- Add the following code to the first code line.
{% comment %}Do not edit this file{% endcomment %} - Add the below code snippet to the position you want the Ratings to appear.
<a href="#looxReviews"><div class="loox-rating" data-fetch data-id="{{ product.id }}" data-rating="{{ product.metafields.loox.avg_rating }}" data-raters="{{ product.metafields.loox.num_reviews }}"></div></a> - From the left app’s navigation bar, click on the Integration under the Other topic.
- Tick on the below option under Loox ‑ Photo Reviews app.
- Click Save to finish.
8. Junip: Photo & Product Reviews
App URL: https://apps.shopify.com/junip
Steps
Our app is being integrated with the Junip: Photo & Product Reviews app automatically.
Steps to manage
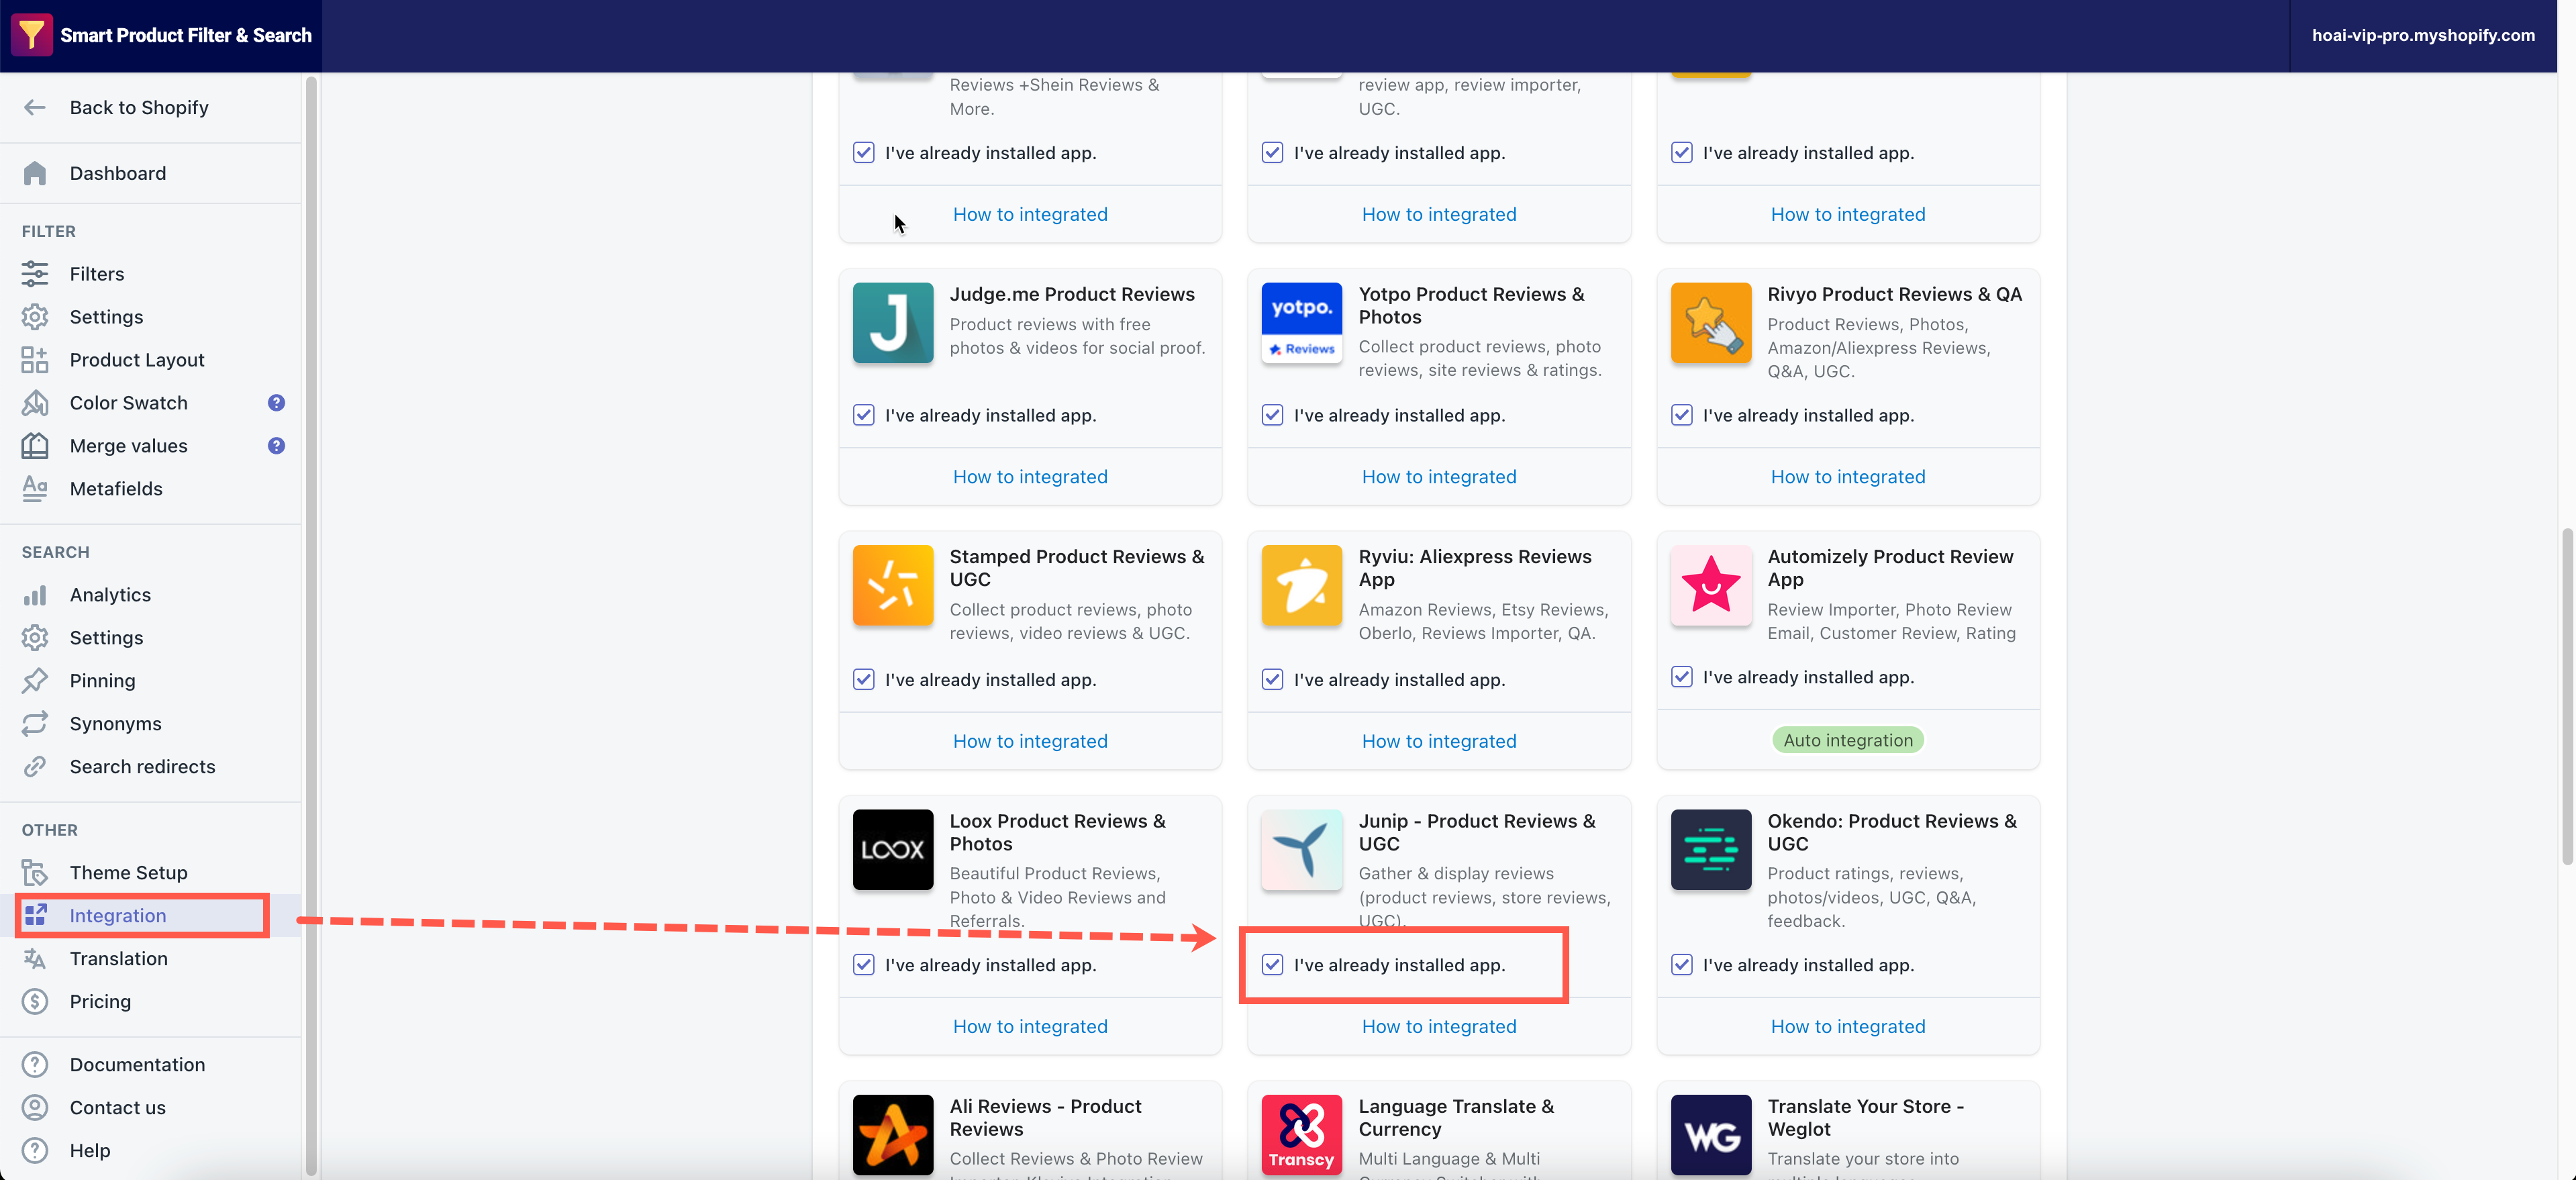
- From the left app’s navigation bar, click on the Integration under the Other topic.
- Tick on the below option under Junip: Photo & Product Reviews app.
- Click Save to finish.
9. Okendo: Product Reviews & UGC
App URL: https://apps.shopify.com/okendo-reviews
Steps
- From your Shopify admin panel, go to the Theme folder.
- In the Action dropdown, click Edit code.
- Go to the globo.filter.product.liquid file.
- Add the following code to the first code line.
{% comment %}Do not edit this file{% endcomment %} - Add the following code to the position you want to display the reviews:
<div class="product-rating">{{product.metafields.okendo.ProductListingSnippet}}</div> - From the left app’s navigation bar, click on the Integration under the Other topic.
- Tick on the below option under Okendo: Product Reviews & UGC app.
- Click Save to finish.

10. Ali Reviews ‑ Product Reviews
App URL: https://apps.shopify.com/ali-reviews
Steps
- From your Shopify admin panel, go to the Theme folder.
- In the Action dropdown, click Edit code.
- Go to the globo.filter.product.liquid file.
- Add the following code to the first code line.
{% comment %}Do not edit this file{% endcomment %} - Add the below code snippet to the position you want the Ratings to appear.
<div product-id="{{ product.id }}" class="arv-collection arv-collection--{{ product.id }}"></div>
11. Areviews ‑ Reviews Importer
App URL: https://apps.shopify.com/areviews-aliexpress
Steps
- From your Shopify admin panel, go to the Theme folder.
- In the Action dropdown, click Edit code.
- Go to the theme.liquid file.
- Add the below snippet to the end of this file
<script> window.addEventListener('globoFilterRenderCompleted', function () { show_infiniti_areviews(); }); </script> <script src='https://areviewsapp.com/js_codes/collection_rating.js' defer></script> - Go to the filter.product.liquid file.
- Add the following code to below the class of title element:
<div class="areviews_product_item areviews_stars{{ product.id }}" data-product-id="{{ product.id }}"></div> - Go to the globo.filter.product.liquid file.
- Add the following code to the first code line.
{% comment %}Do not edit this file{% endcomment %}
12. Opinew Product Reviews App UGC
App URL: https://apps.shopify.com/photo-reviews
Steps
- From your Shopify admin panel, go to the Theme folder.
- In the Action dropdown, click Edit code.
- Go to the globo.filter.product.liquid file.
- Add the following code to the first code line.
{% comment %}Do not edit this file{% endcomment %} - Go to the filter.product.liquid file.
- Add the below code snippet to the position you want the Reviews to appear.
<div class='opinew-stars-plugin-product-list'>
{% if product.metafields.opinew_metafields['stars_lists'] != blank %}
{{ product.metafields.opinew_metafields['stars_lists'] }}
{% else %}
<div class="opinew-stars-plugin-link opinew-list-stars-disable" onclick="window.location.href = 'https://{{shop.domain}}{{product.url}}'" style="text-decoration: none;">
<span class="opinew-star-plugin-inside">
<i class="stars-color opw-noci opw-noci-star-empty" aria-hidden="true"></i>
<i class="stars-color opw-noci opw-noci-star-empty" aria-hidden="true"></i>
<i class="stars-color opw-noci opw-noci-star-empty" aria-hidden="true"></i>
<i class="stars-color opw-noci opw-noci-star-empty" aria-hidden="true"></i>
<i class="stars-color opw-noci opw-noci-star-empty" aria-hidden="true"></i>
</span>
<span class="opinew-no-reviews-stars-plugin" onMouseOver="this.style.color='#c45500'"
onMouseOut="this.style.color='inherit'"><b>
</b></span>
</div>
{% endif %}
</div>
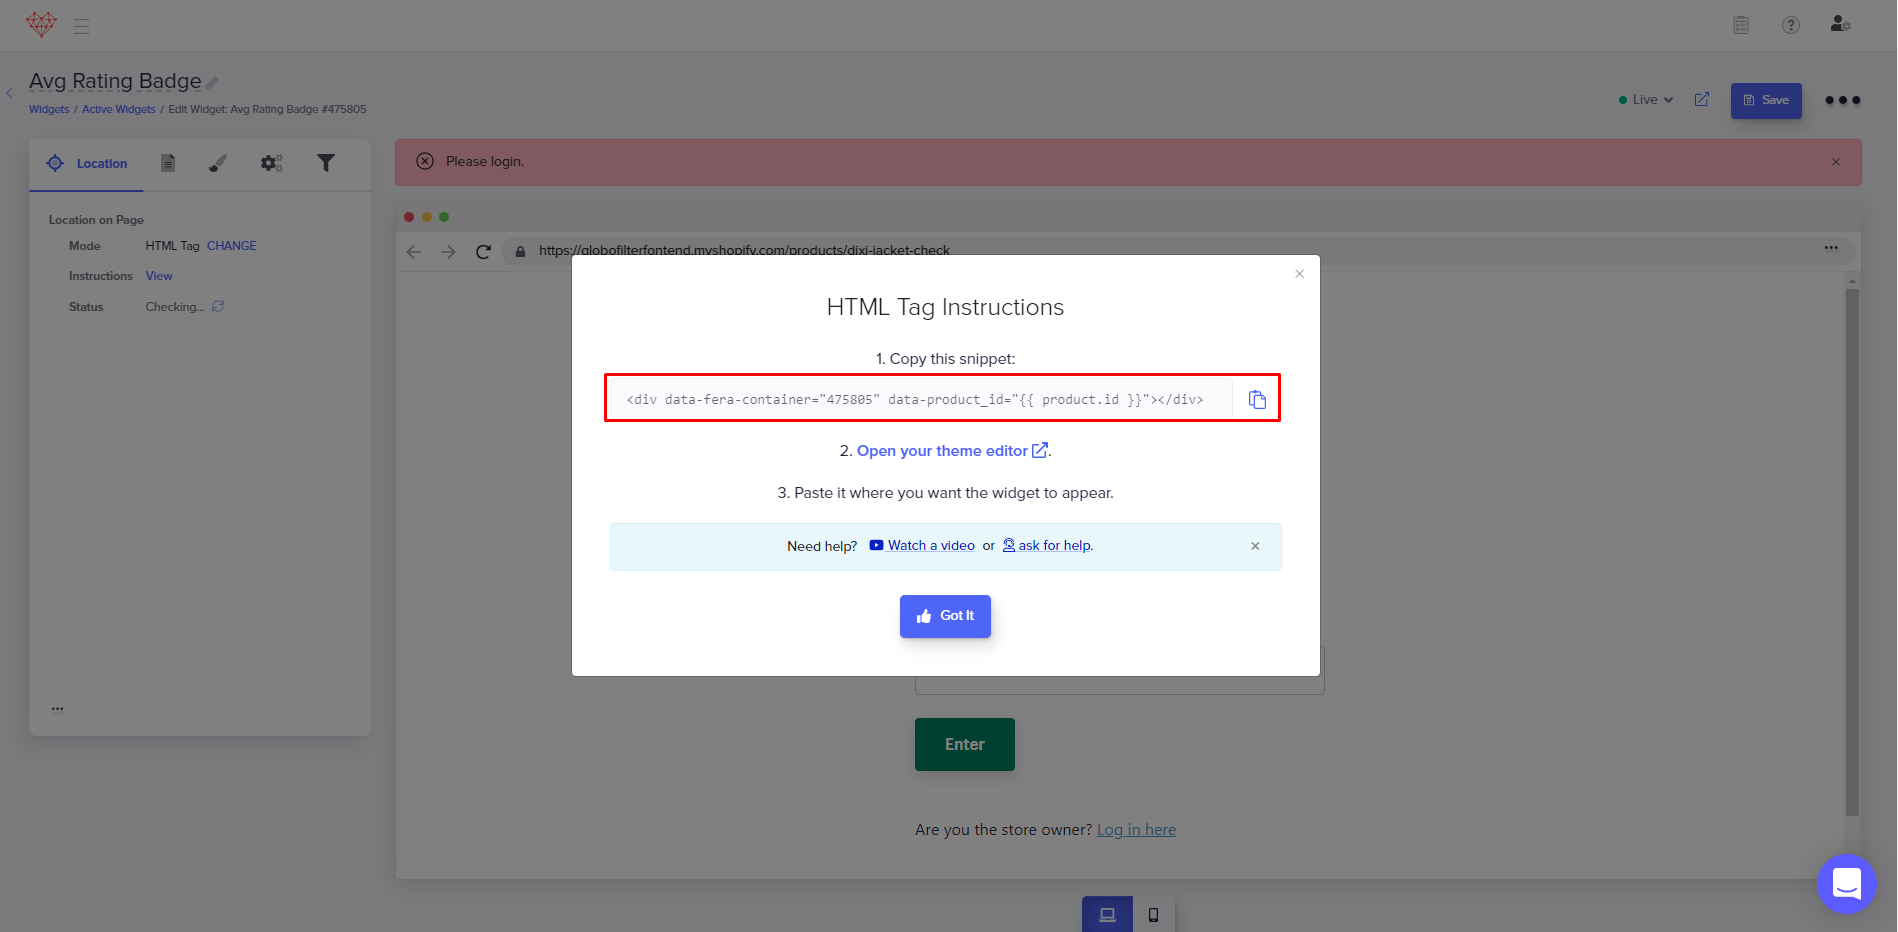
13. Fera Product Reviews App
App URL: https://apps.shopify.com/fera
Steps
- From your Shopify app list, go to the Fera product review app
- Copy their HTML tag instruction – see below screenshot for reference.
- From your Shopify admin panel, go to the Theme folder.
- In the Action dropdown, click Edit code.
- Go to the theme.liquid file.
- Add the below snippet to the end of this file
<script> window.addEventListener('globoFilterRenderCompleted', function () { setTimeout(fera.forceRefreshContent(), 1000); }); </script> - Go to the globo.filter.product.liquid
- Add the following code to the first code line.
{% comment %}Do not edit this file{% endcomment %} - Add the tag code from step #2 above to below the class of the title element.